

Before you begin
Make sure you have the following ready before starting.- A Panasonic PTZ camera, powered on and reachable on the same local network as the computer you’ll configure it from.
- A computer on that same network with a web browser (steps below were tested on Google Chrome).
- An active Coresee room with access to the Streaming tab in the Side Panel, and host or co-host permissions to create an Inbound Feed.
- The camera’s printed Operating Instructions, for any model-specific detail not covered here — these steps follow Panasonic’s own Device Initialization flow closely but are not a substitute for it.
Panasonic Device Initialization
The following instructions were tested on Windows 11. They closely follow the device initialization instructions included in the camera’s Operating Instructions.1
Power on the camera and connect it to your network
Make sure the camera is powered on and on the same subnetwork as the computer you’ll use to configure it.
2
Download and run EasyIPSetupToolPlus
Download EasyIPSetupToolPlus from the Panasonic website, install it, and run it.


- Click Search
- Click the camera you want to set up, then click Network Settings.
- Enter your network details and click OK
3
Open the camera's Web GUI
Back on the EasyIPSetupToolPlus main page, select your camera and click **Web GUI **on the left-hand side. This opens the camera’s interface in your default browser, where you should see a live preview of the camera feed.
Camera initialized The camera is now initialized and ready to be configured for streaming.
Coresee RTMP stream setup
For this section, a Windows 11 computer on the same network as the camera was used, but any device with browser access to the camera’s Web GUI should work. These steps configure the camera to push its feed to a Coresee Inbound Feed over RTMP.1
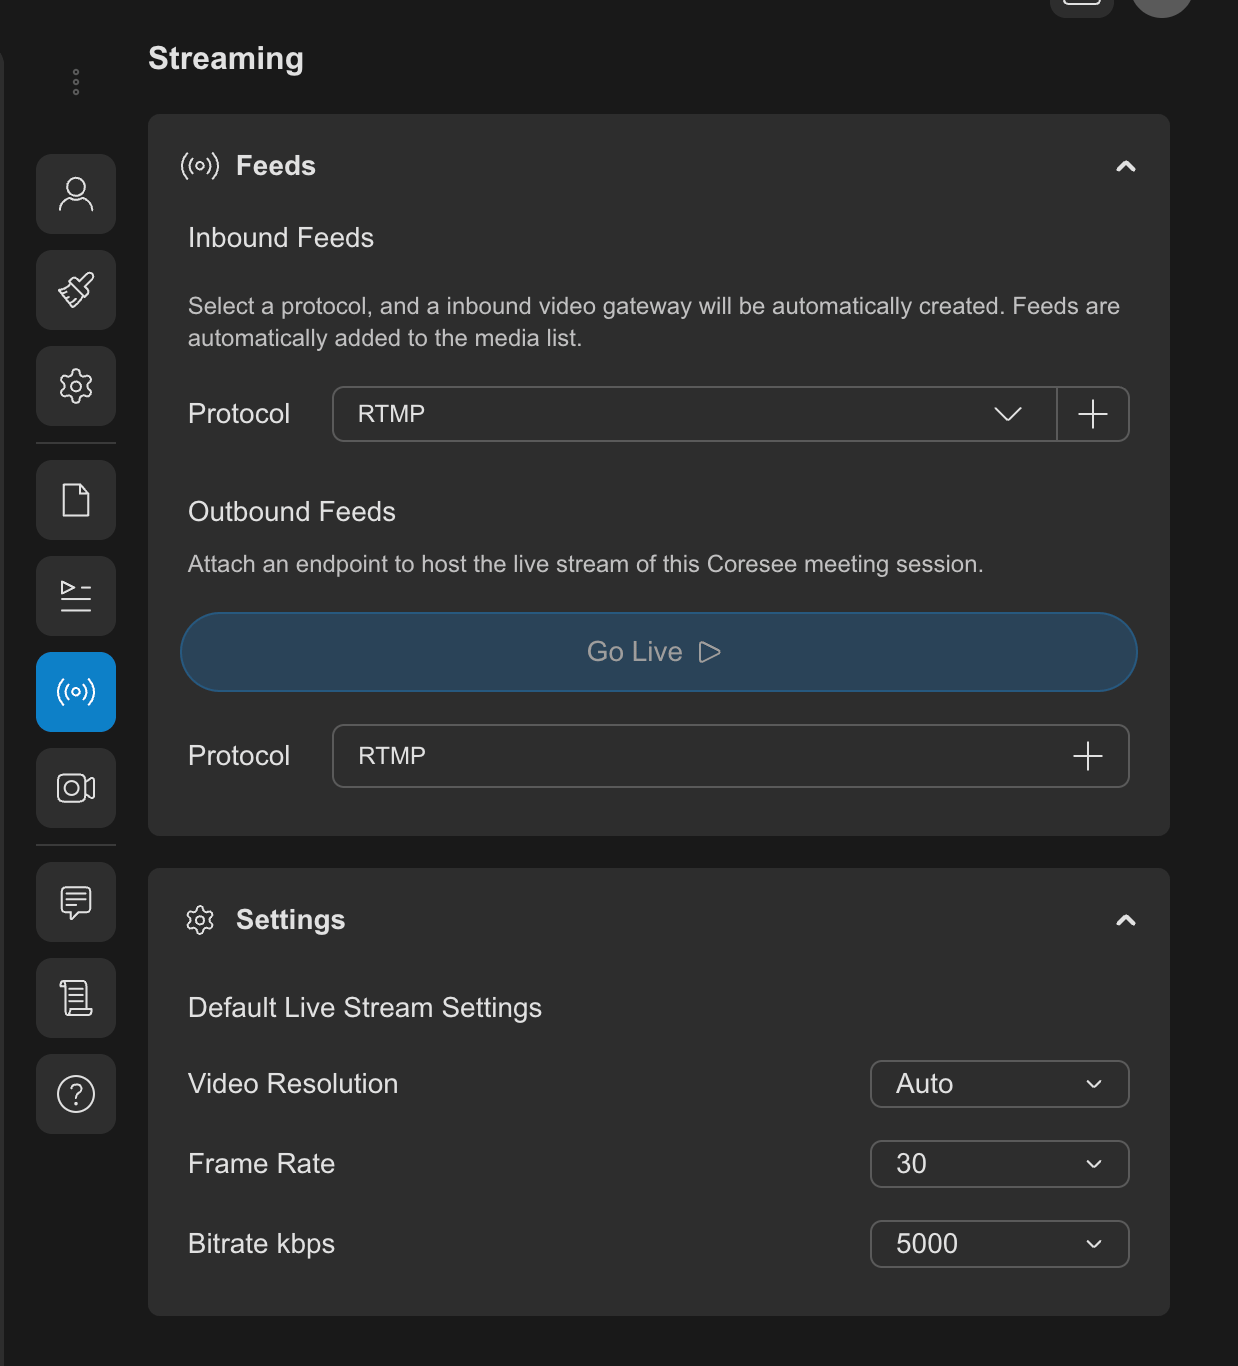
As the host or co-host of a room, open the Streaming Tab within the Side Panel
2
Under Inbound Feeds, create an RTMP entry
You’ll see the Server URL and the Channel ID
3
Open the camera's Web GUI
In your preferred browser (tested on Google Chrome), navigate directly to the camera’s address at /live/index.html — for example, http://10.10.100.79/live/index.html. You can also reach this through EasyIPSetupToolPlus by selecting your camera and clicking Web GUI
4
Switch the streaming mode to RTMP
- In the top panel, go to Setup → Image/Audio → Video over IP → Streaming mode
- Select RTMP
-
Click Set

5
Enter the Coresee Inbound Feed details
- Still in Video over IP, go to Server setup
- Select URL type Type2
- Enter the Coresee Inbound Feed’s connection details
-
Click Set

6
Set the streaming format
- Still in Video over IP, go to Streaming format
- Turn RTMP transmission ON
- Set Max bit rate (per client) to Max 4096 kbps
-
Click Set

7
Start the stream
- In the top panel, go back to Live where the camera preview is shown.
-
Click the start button at the bottom right, next to the SRT/MPEG2-TS/RTMP option.

Feed is live in the room! The camera feed is now accessible as an Inbound Feed inside your Coresee room. Once the feed appears in the room’s files, a host or co-host can bring it into the stage like any other media source.