Installation
Install from the Microsoft AppSource Marketplace
Install the plugin once from the Microsoft AppSource Marketplace and it becomes available across both the Outlook Web App and the Outlook Desktop App on your account.
1
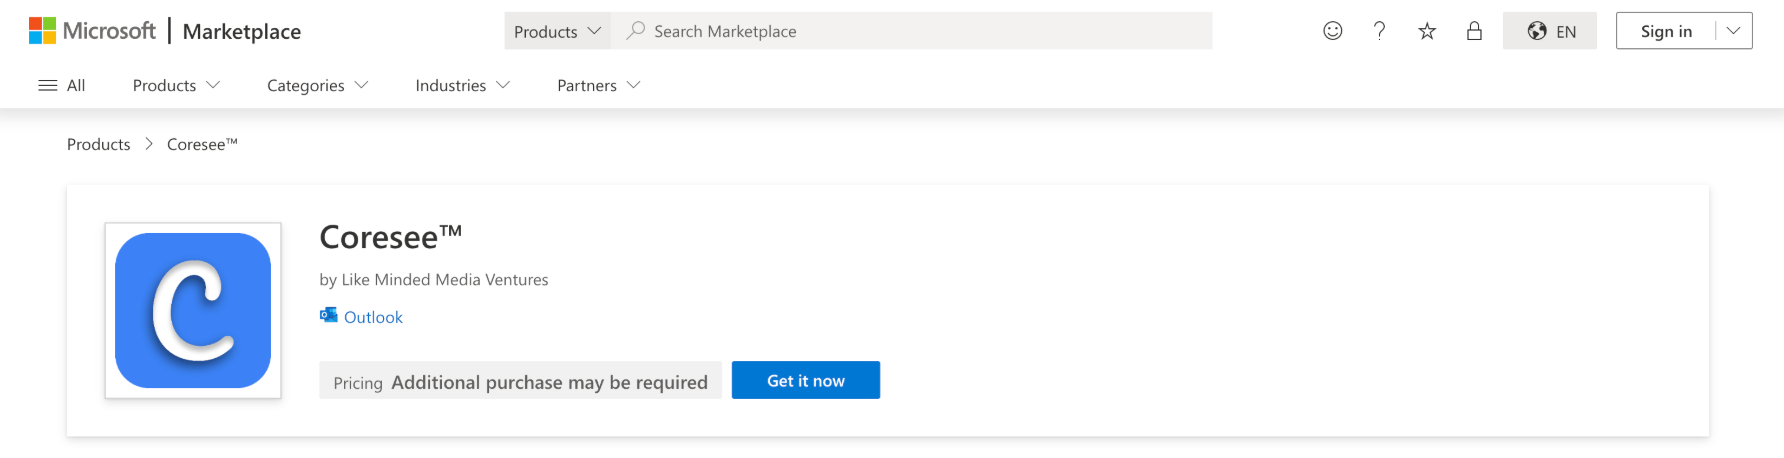
Click Get it now
2
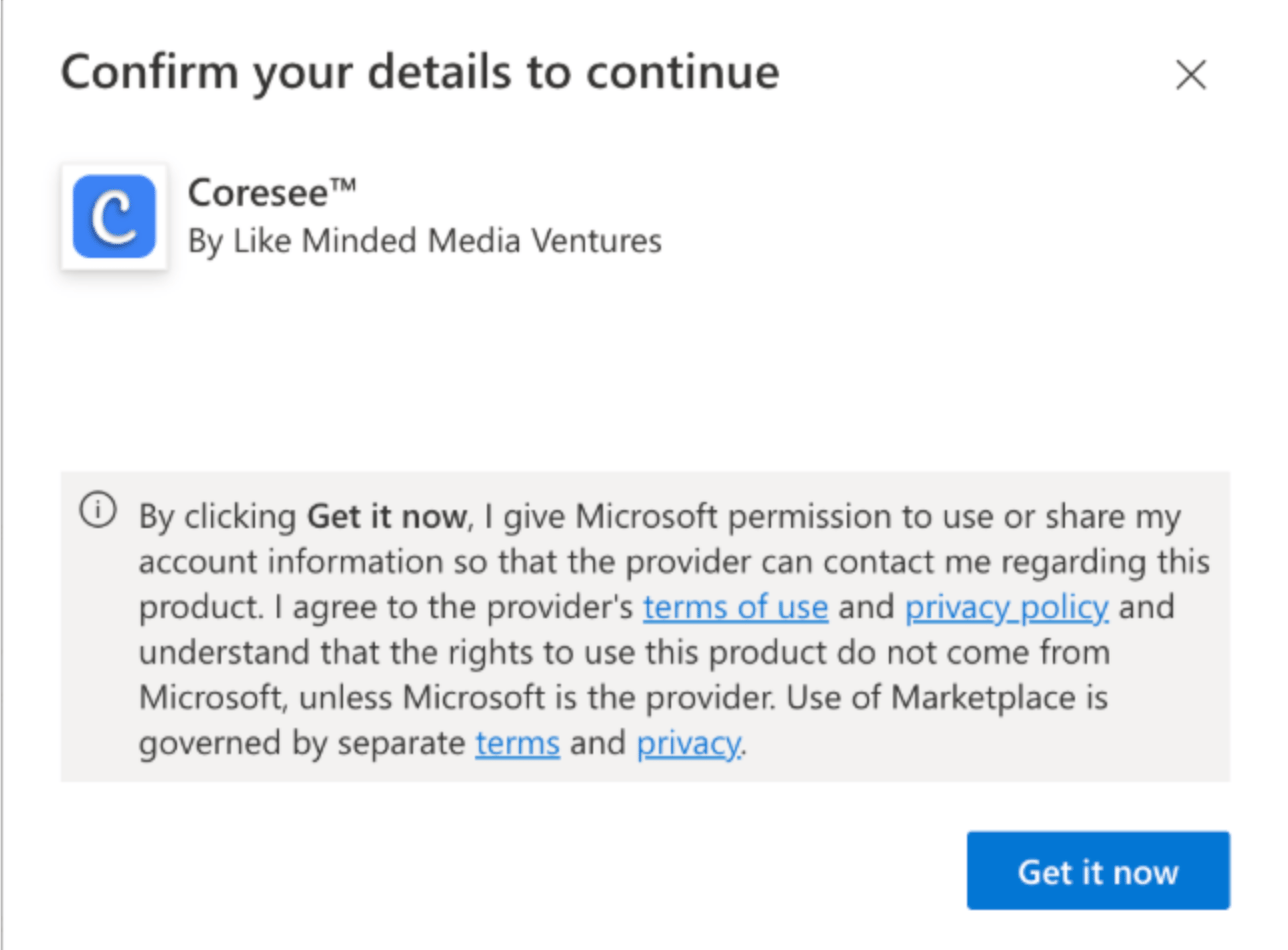
In the "Confirm your details" window, click Get it now again.
3
In the "Confirm your details" window, click Get it now again.
4
Click Continue.
The Coresee plugin is now added to your Microsoft account!
Signing In
Whether you use the Outlook Web App or the Desktop App, the sign-in process follows the same steps — only how you open the plugin panel differs.1
Open your Outlook Calendar and create a new event (or open an existing one).
2
Open the plugin panel
-
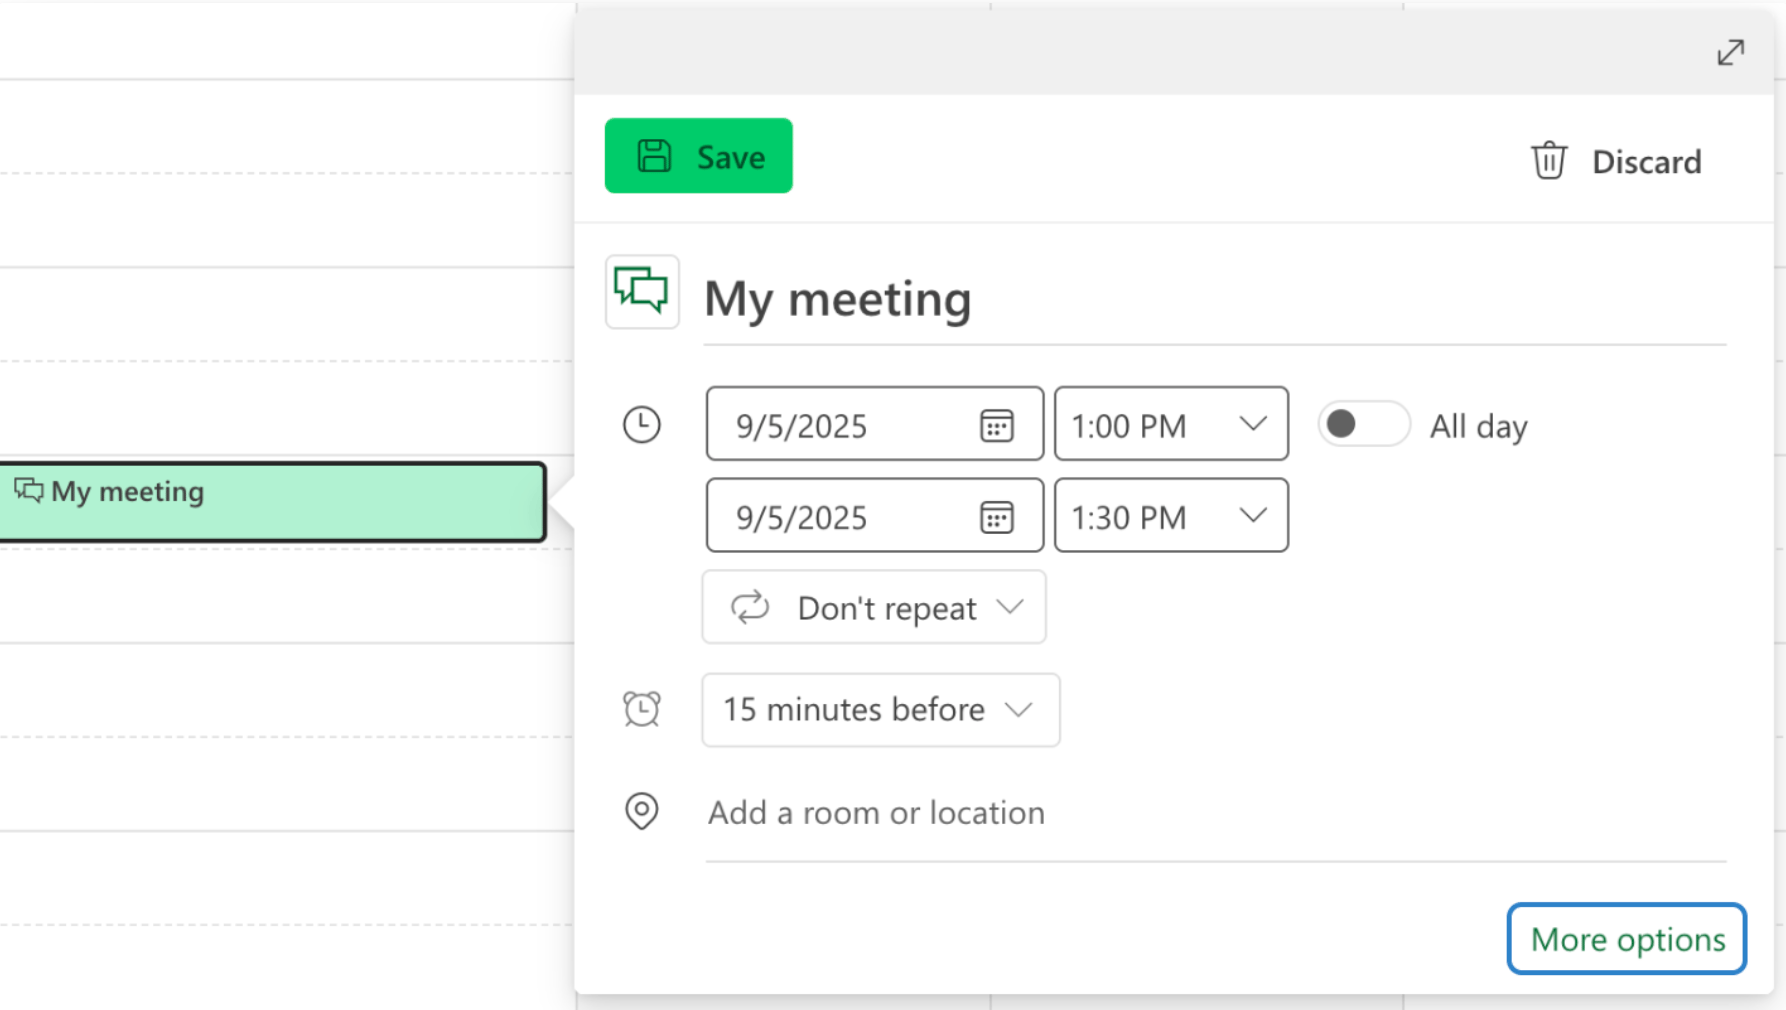
For Web Users: If you don’t see the plugin, click More Options
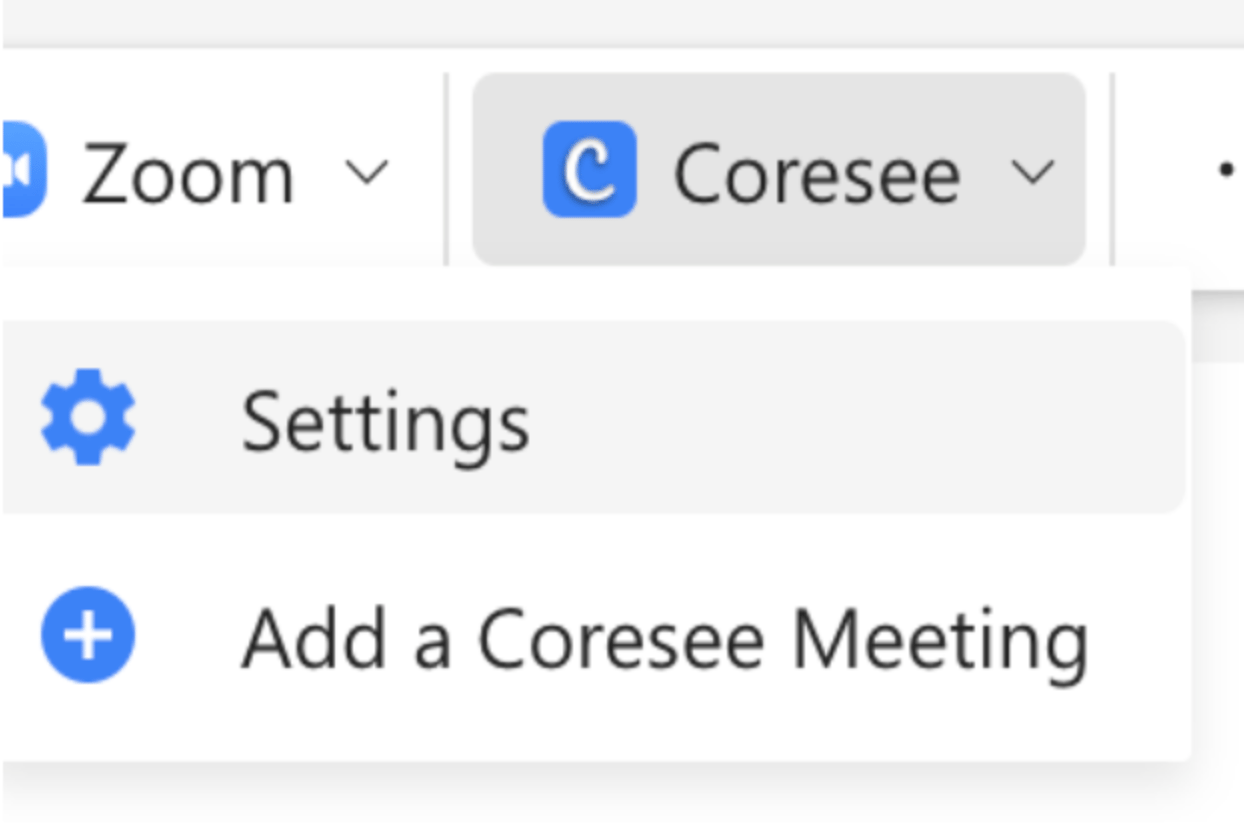
- For Desktop Users: Click the Coresee icon in the ribbon. Note: You may need to click the three-dot (…) menu to find the plugin.
3
Select Settings from the Coresee dropdown.
4
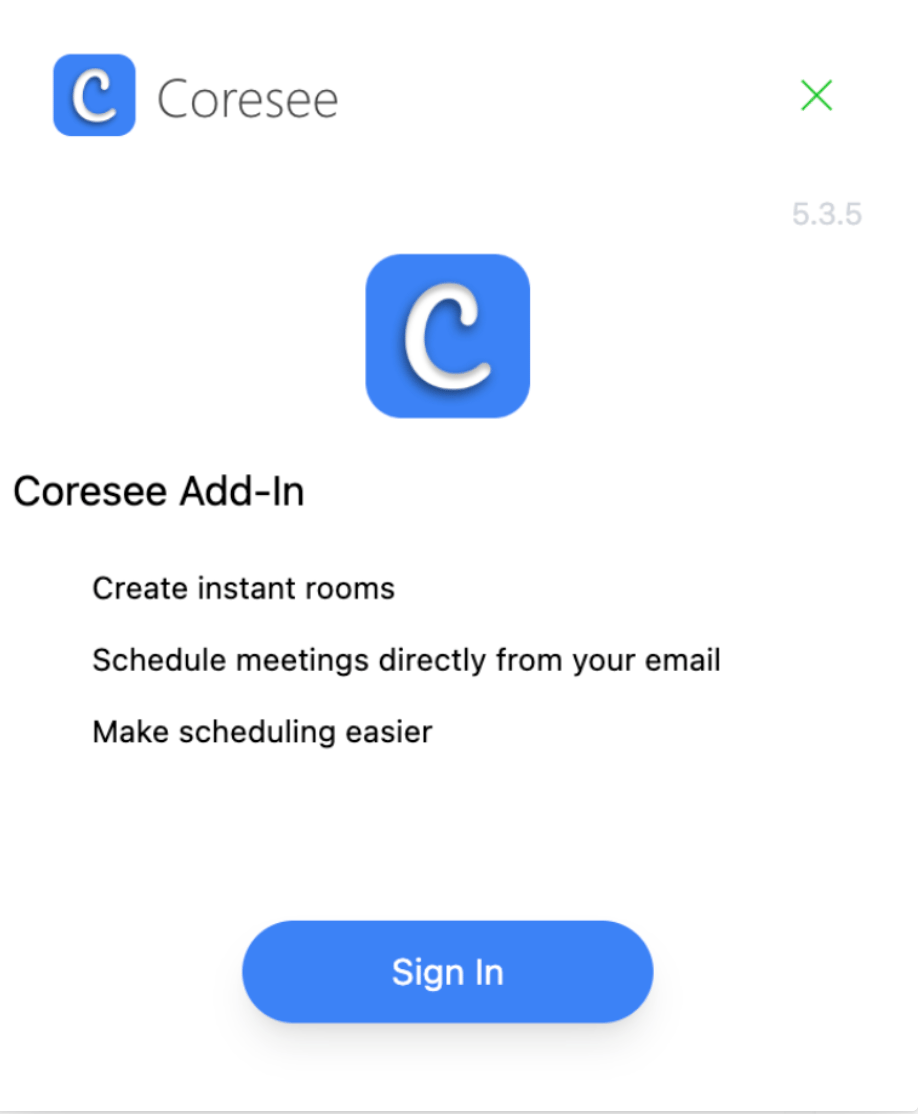
In the panel that appears on the right, click Sign In.
5
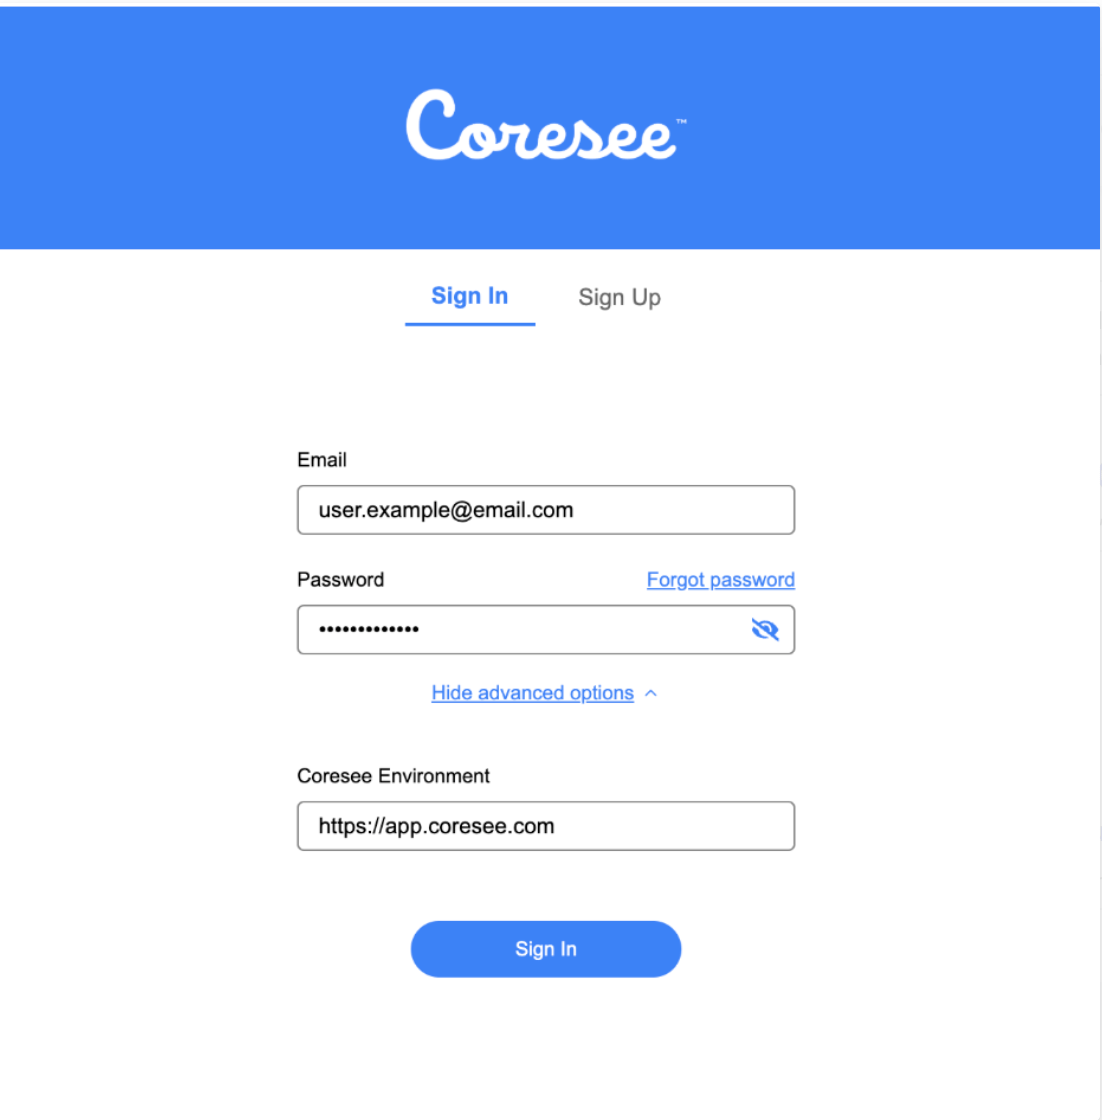
Enter your Coresee credentials
Creating & managing a room
Once signed in, you can create a Coresee room directly on an event and invite others to it — right from the Outlook Web or Desktop App.1
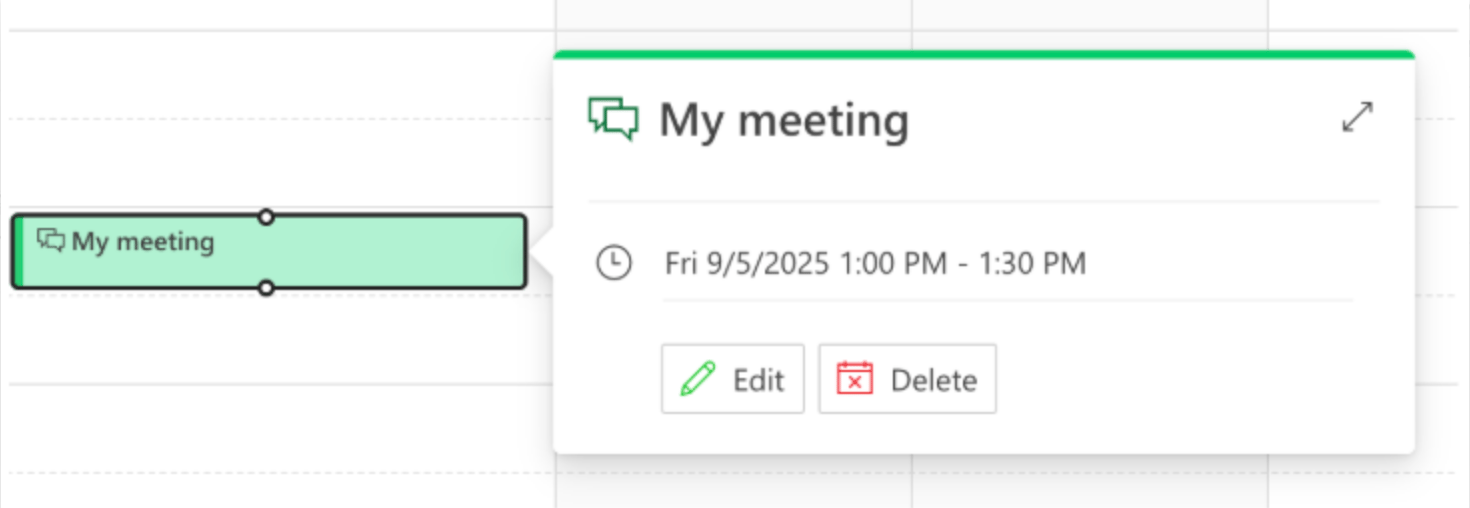
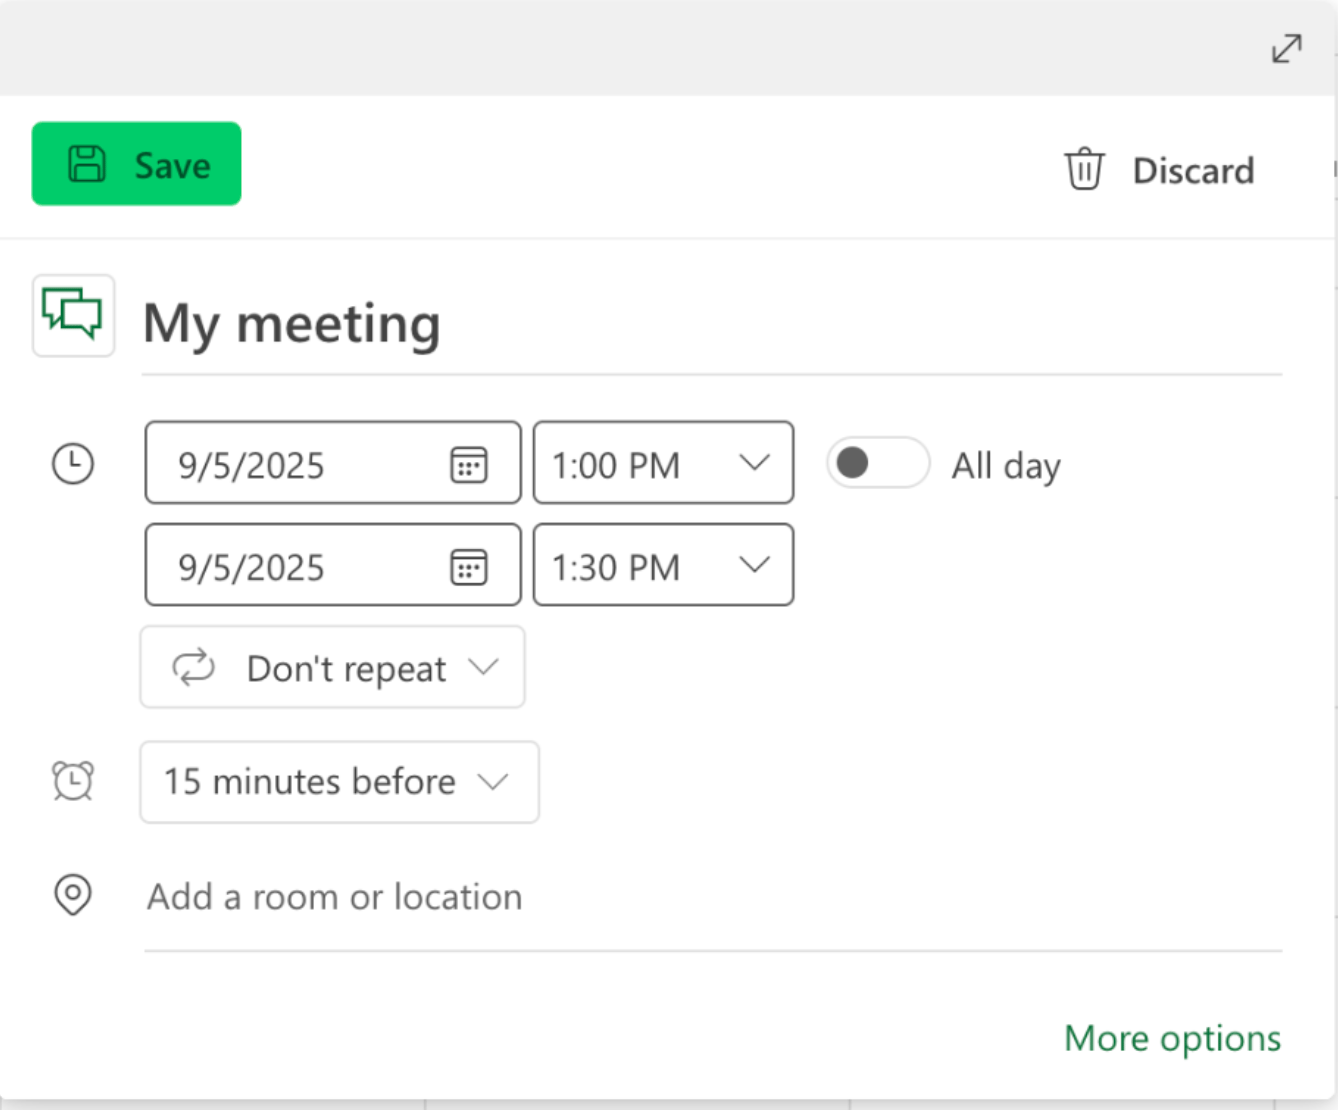
Create or open an event.
- For a new event, click More options to open the full event editor.
-
For an existing event, click Edit.
2
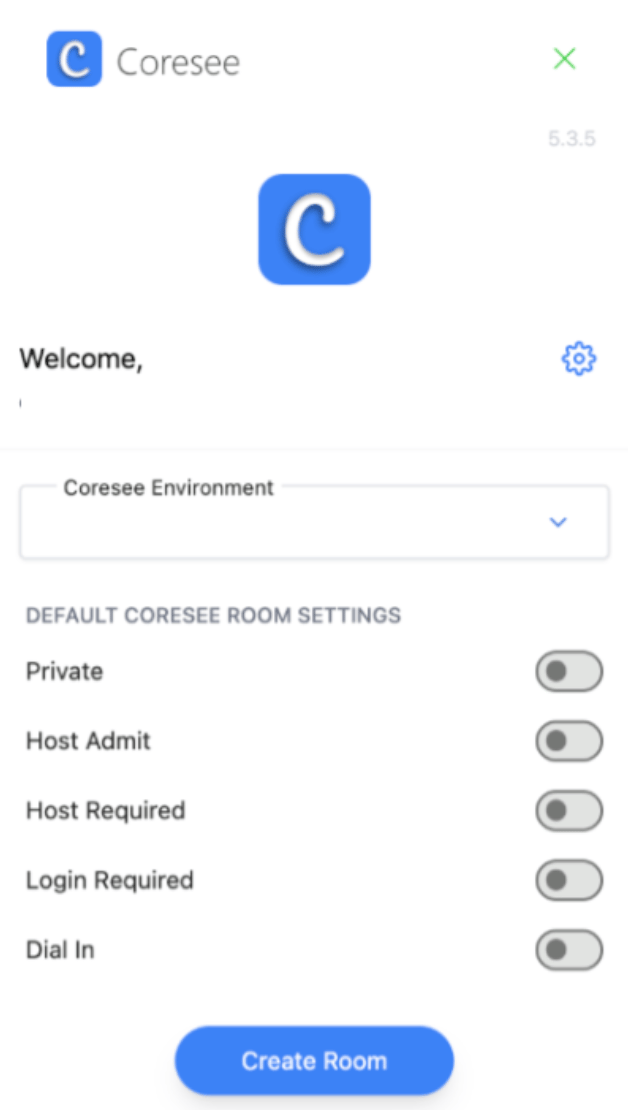
Navigate to the Coresee plugin and select Settings to open the plugin panel.
3
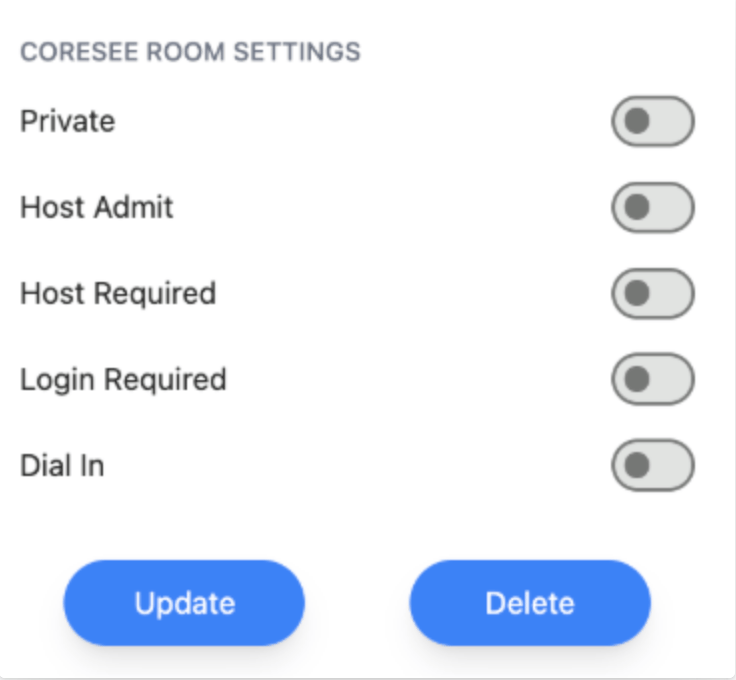
In the panel, enable your preferred room settings, then click Create Room.
Update a room
To change a room’s settings after it’s been created, return to the event, adjust your event details as needed, then open the Coresee plugin panel and click Update.