Create a Room
1
Click the Create Room button
2
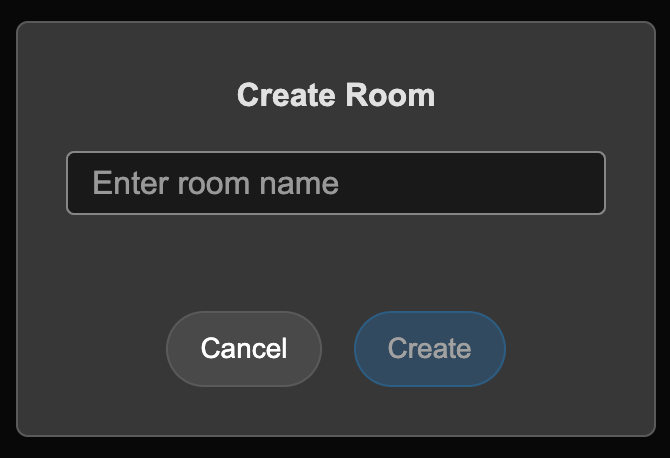
Enter the name of your room and click Create
Setting Up a New Room
Once a room is created, it’s ready to configure before anyone joins it. This article covers the four things most people do right after creating a room: setting room controls, uploading media, sharing the room’s link, and inviting participants. All of these live in the room’s Side Panel, which you can open from the room’s card on the homepageCustomize your room settings
Start by opening the Side Panel and reviewing the Settings tab. This is where you can turn on the access controls you want in place before anyone arrives.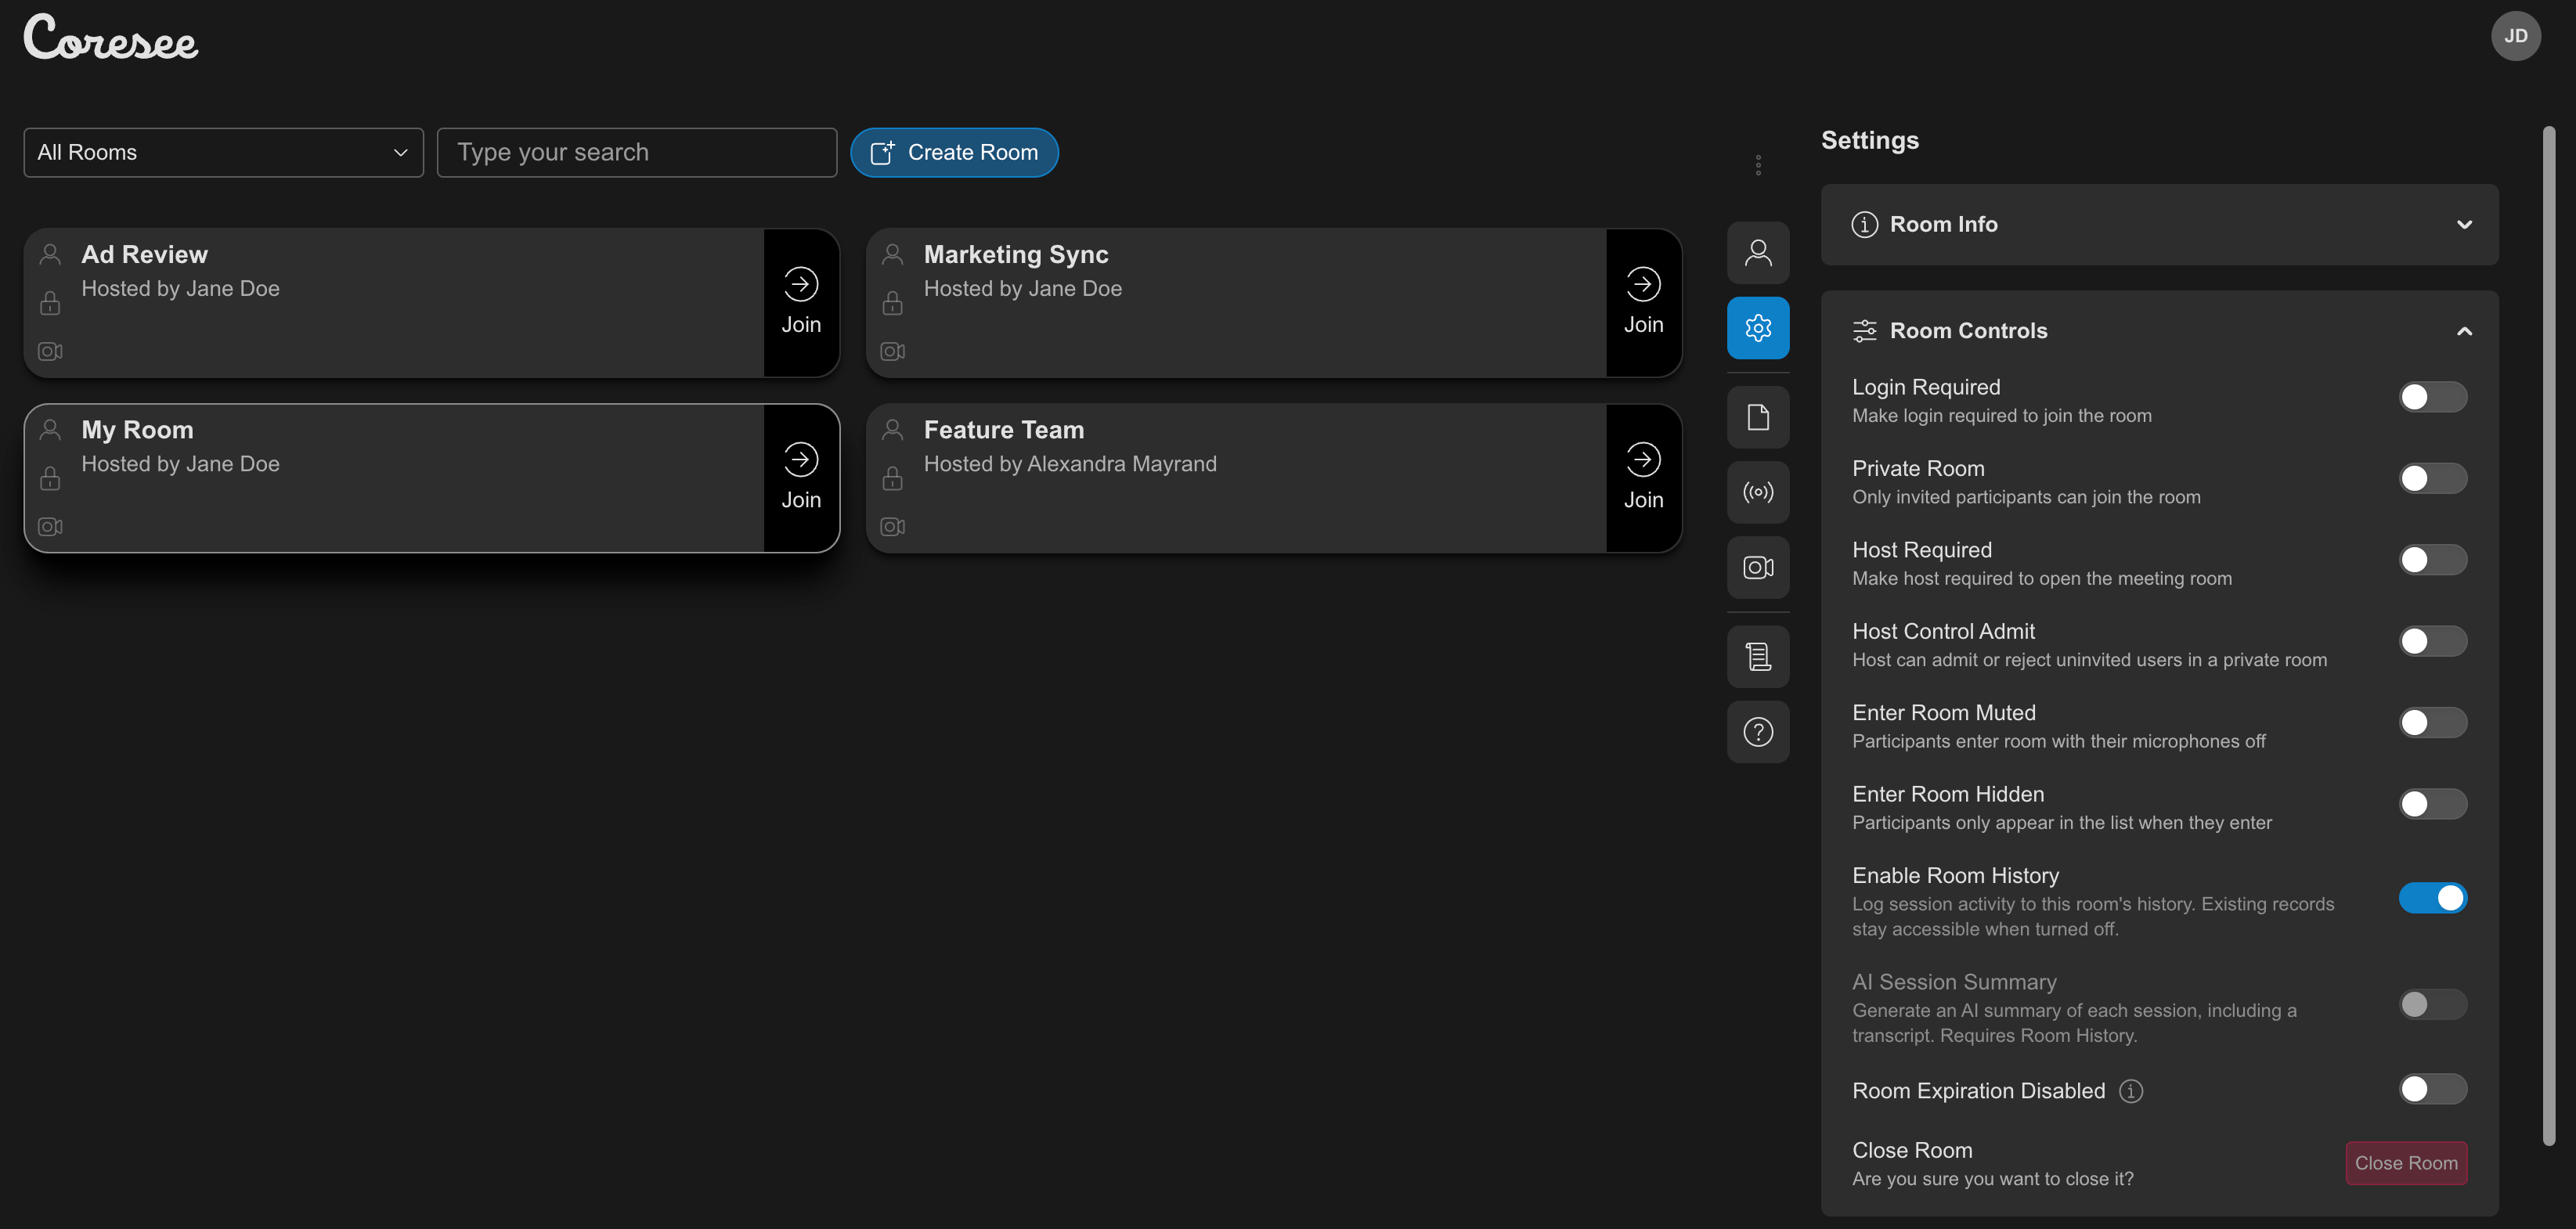
1
From the homepage, select your new room. This opens the room's Side Panel.
2
Go to the Settings tab
3
Under Room Controls, turn on whichever toggles fit how you want people to enter.
- Enter Room on Mute: All participants will join the room with their microphones muted by default.
- Host Required: The room can only be accessed if a host is present. Without a host, participants will remain in the Lobby.
- Login Required: Only users with a Coresee account can join the room.
- Private Room: Only invited users can enter.
Upload media
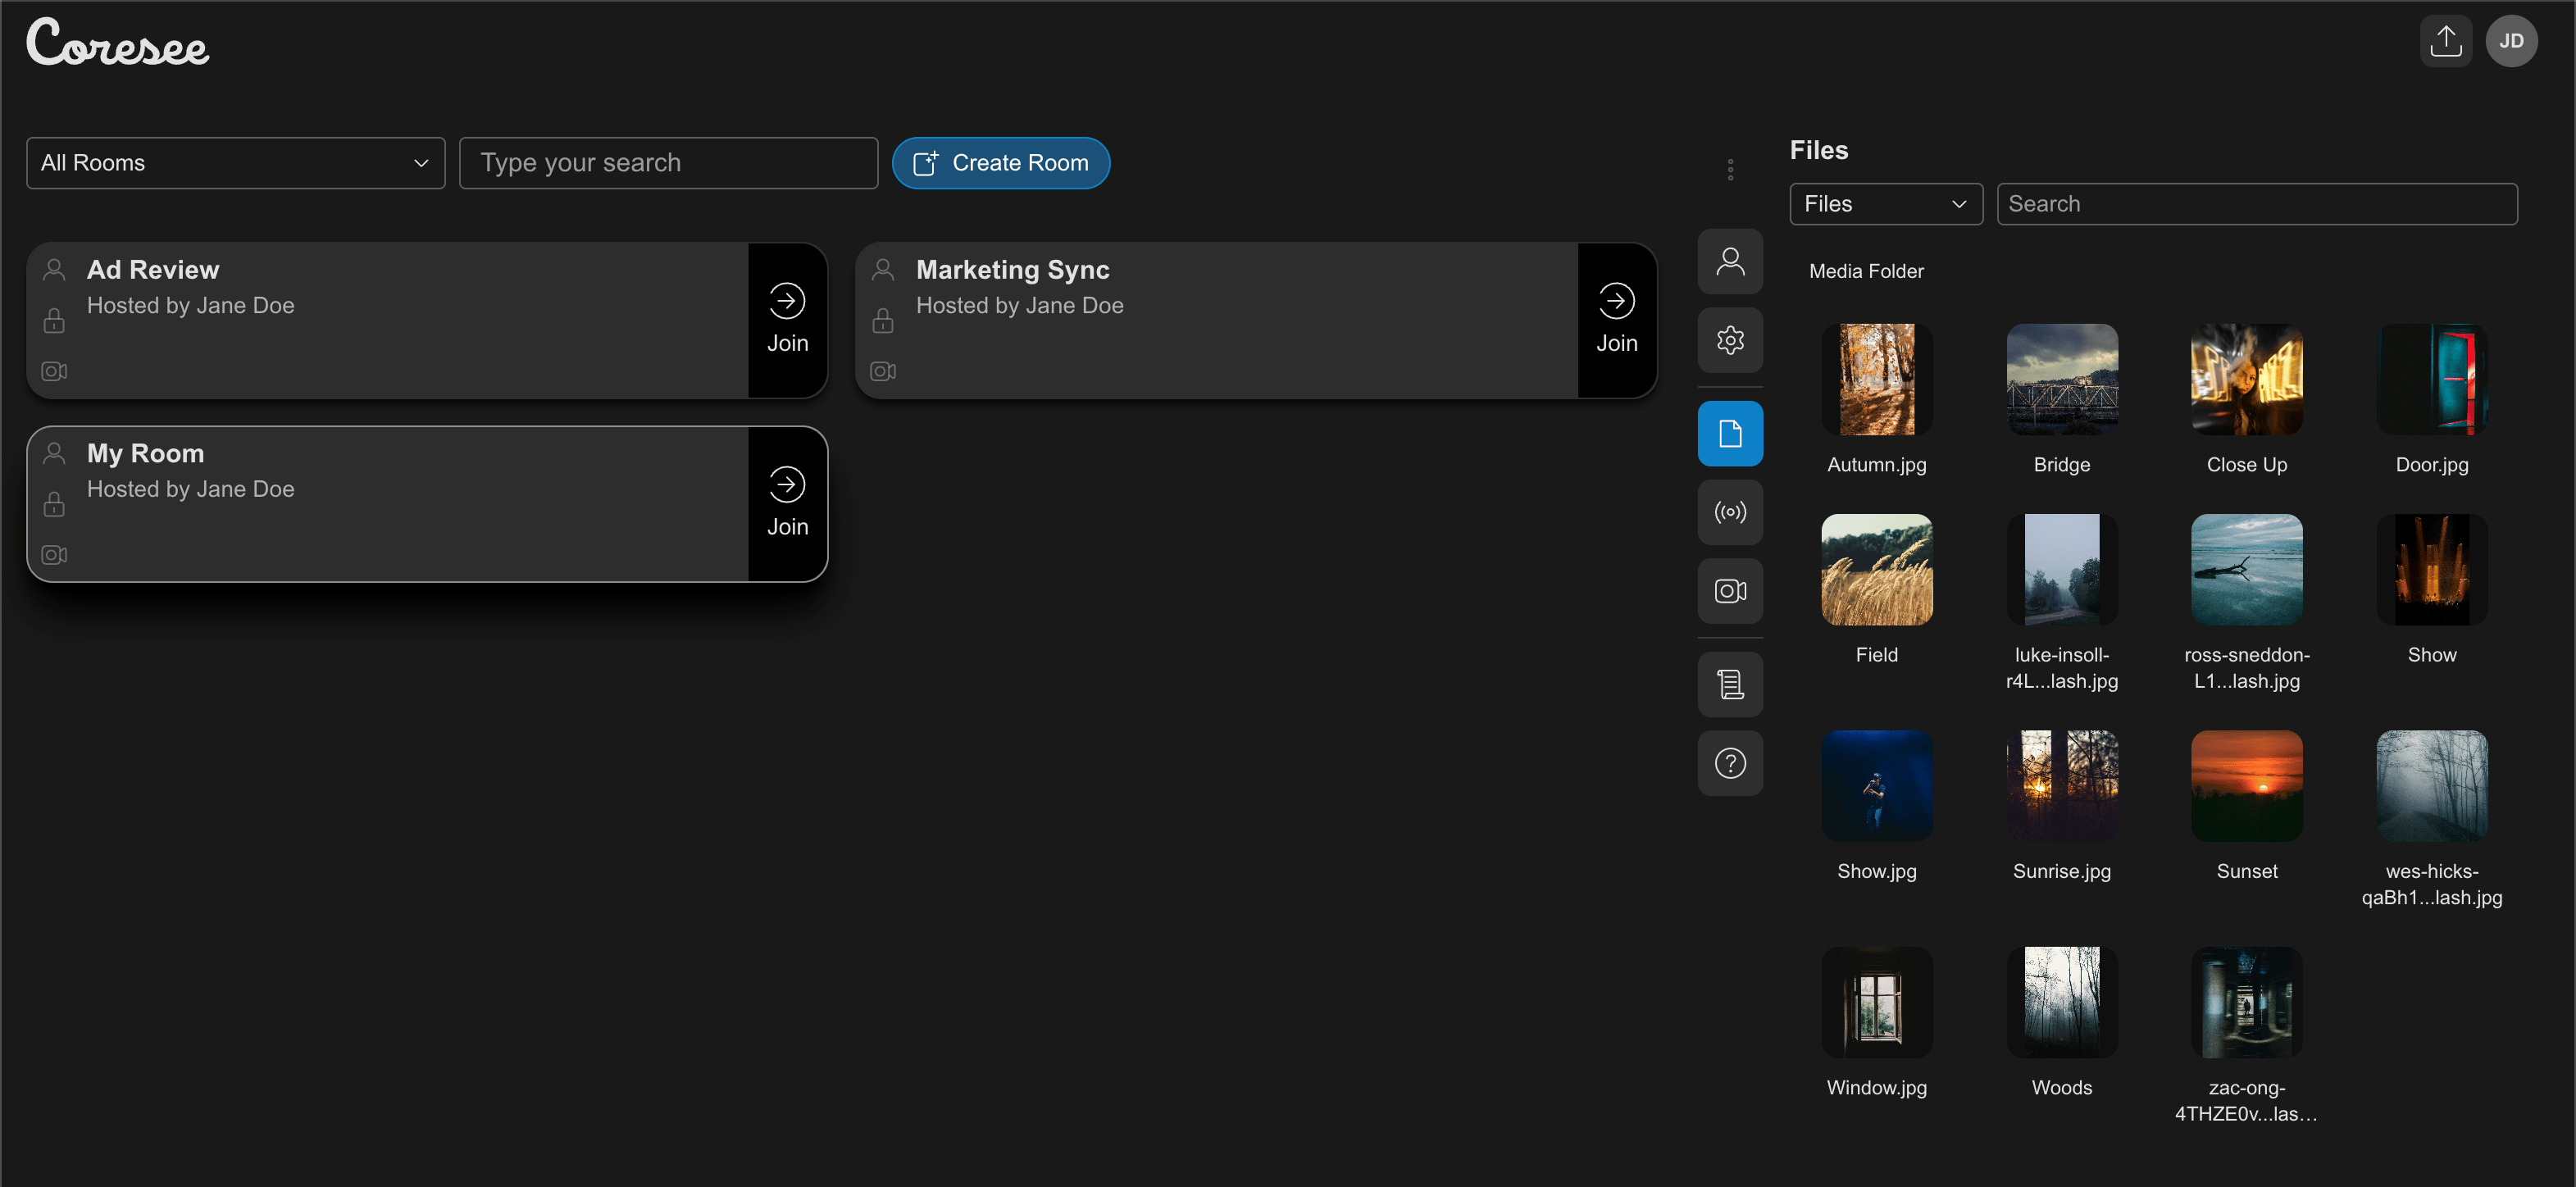
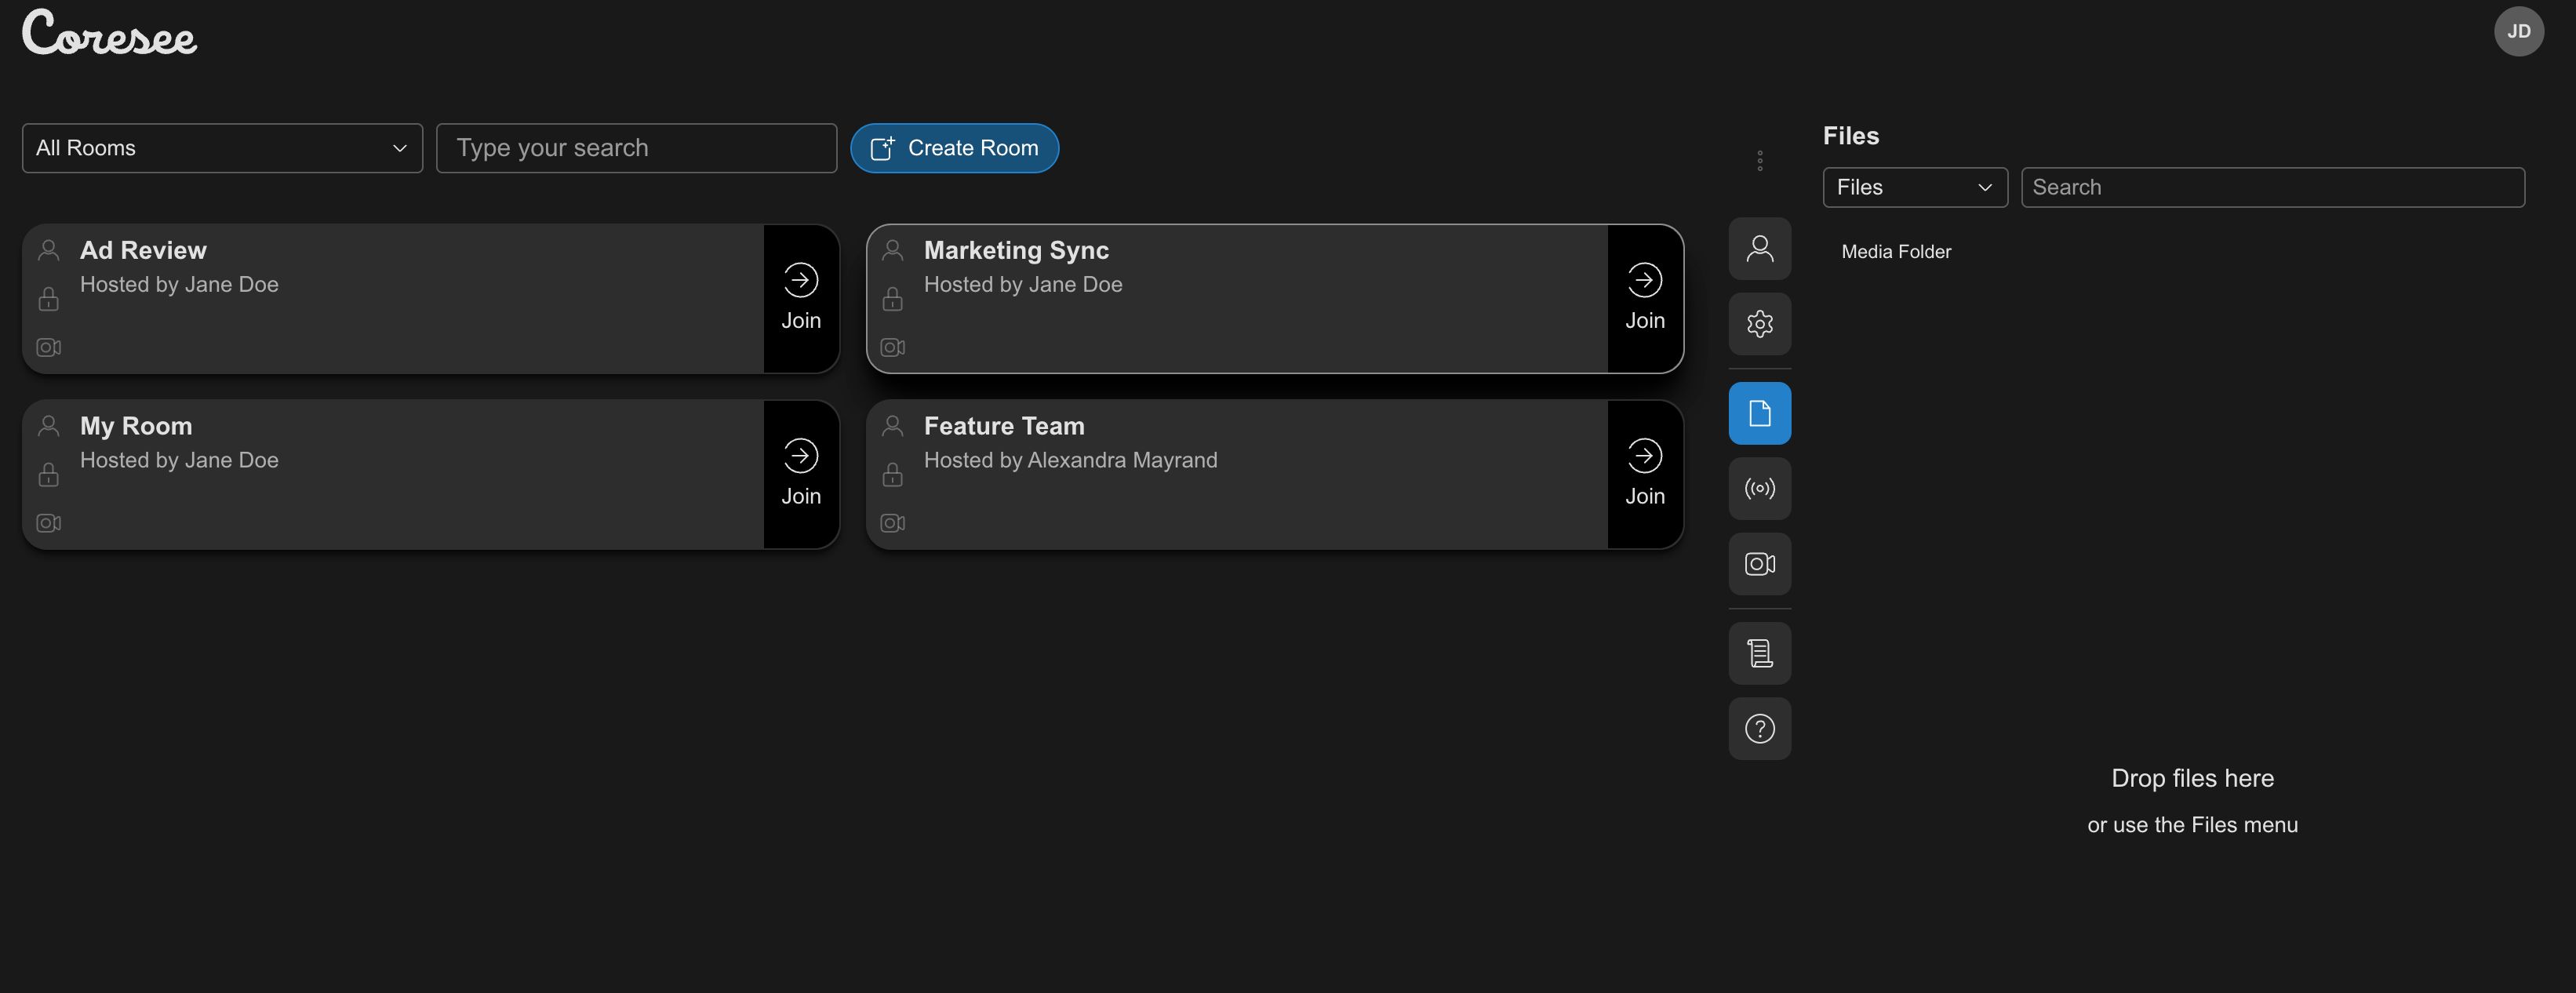
If participants will need files during the session — slides, videos, reference documents — it’s worth loading them in ahead of time from the Files tab.1
In the Side Panel, go to the Files Tab
2
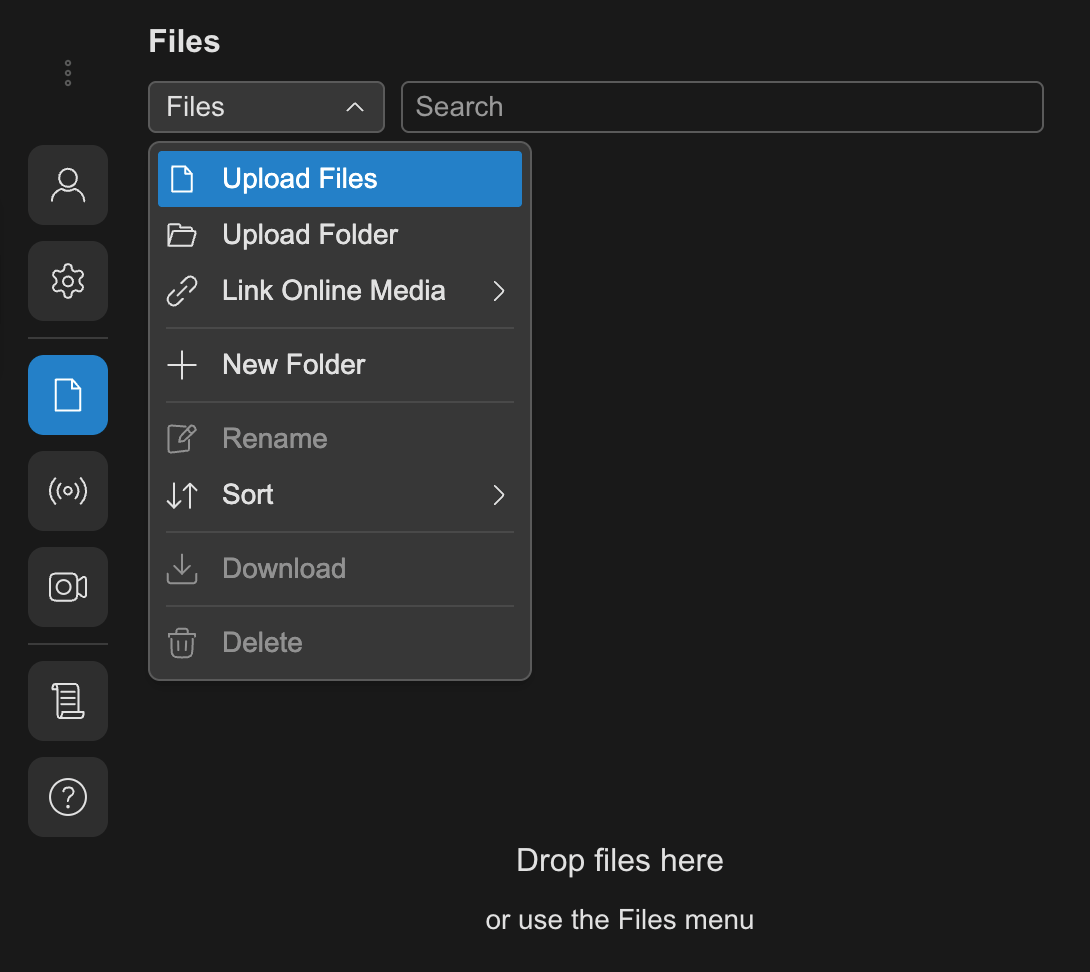
Open the menu and click Upload Files or Upload Folder
3
The Upload menu appears.
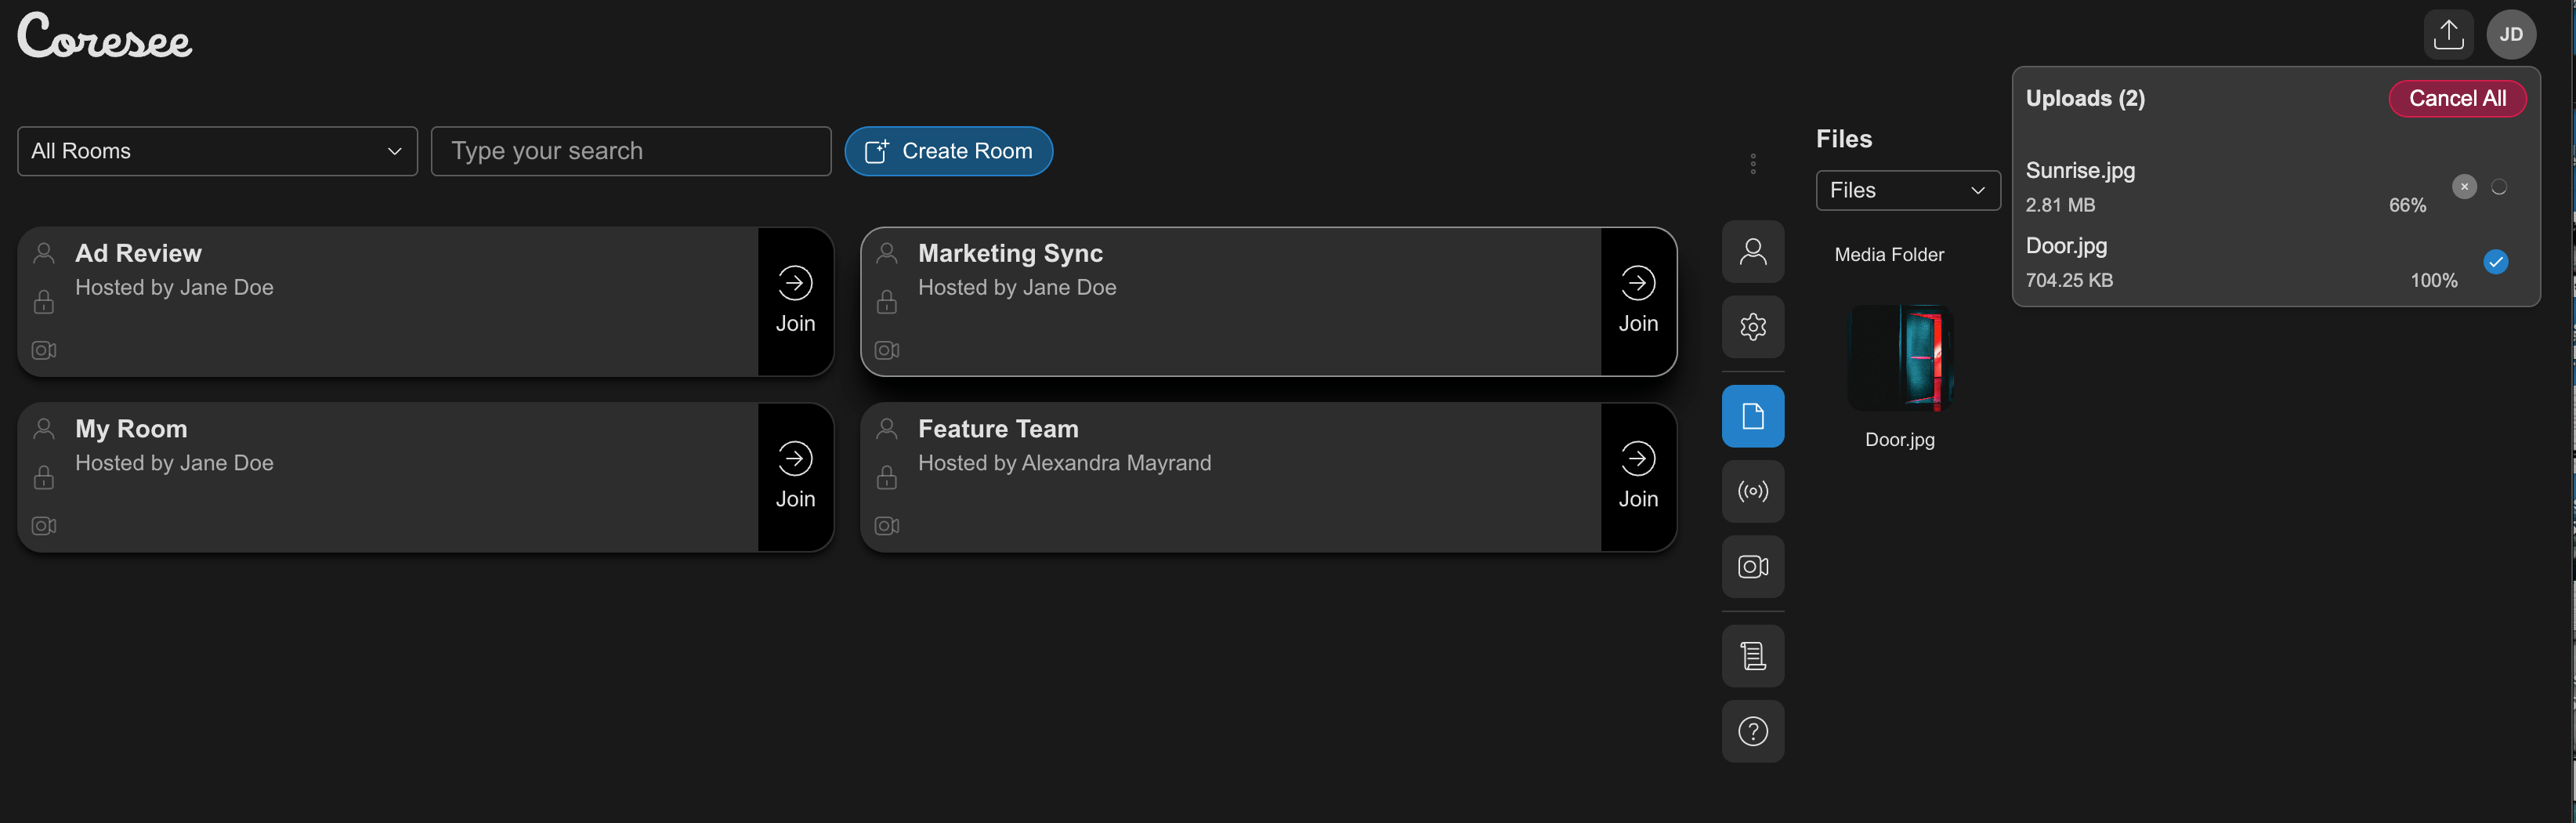
Use folders and playlists to keep things organized if you’re uploading more than a few items.
Invite participants
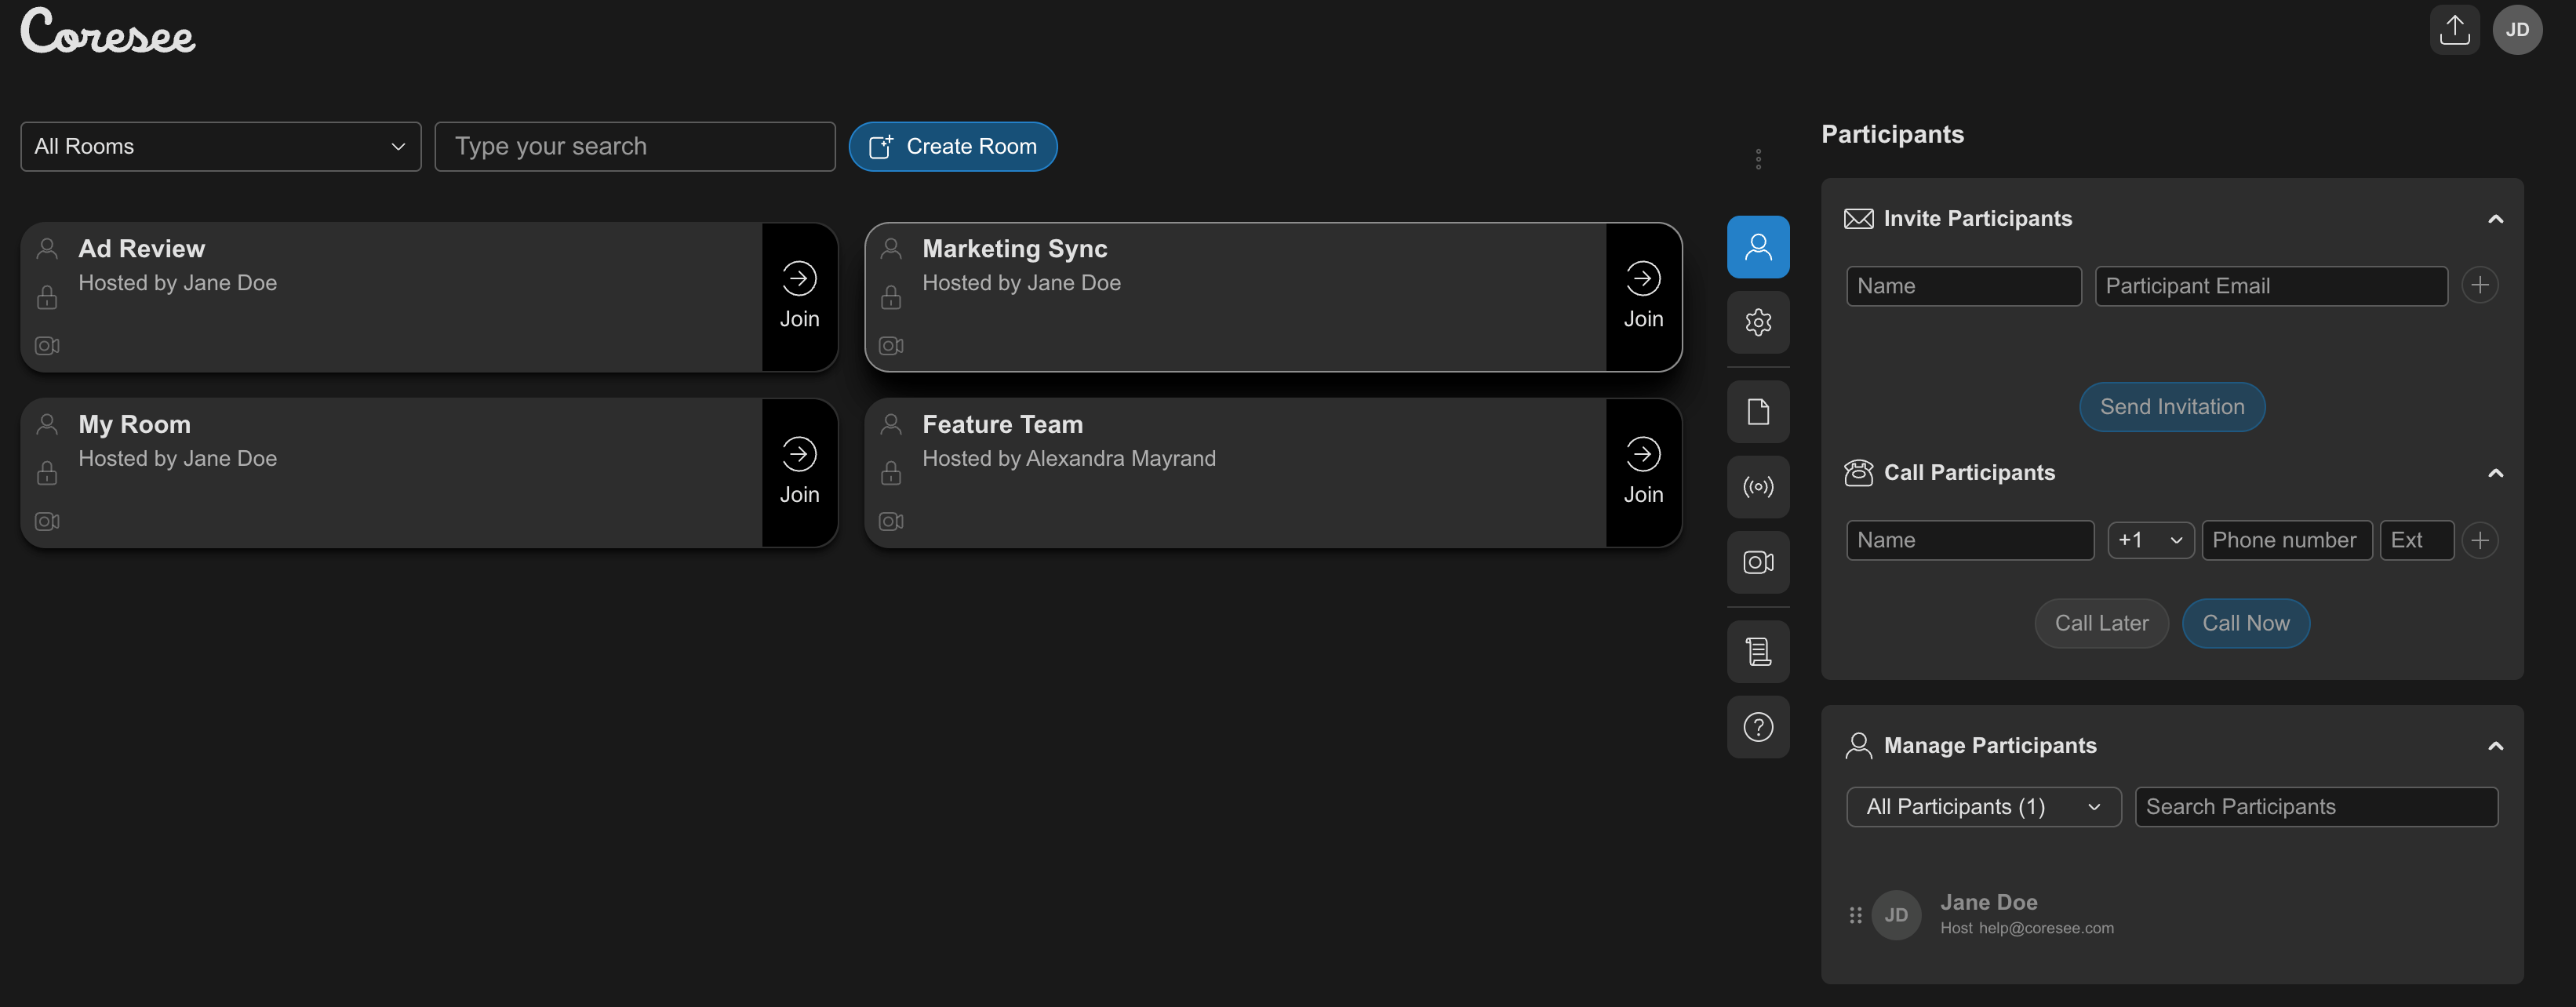
You can invite people directly by email right from the homepage — no need to start a session first.1
In the Side Panel, go to the Participants tab
2
Add the name and email addresses of everyone you'd like to invite to the space.
Once participants have been added to the room, they will receive an invitation email.
You can manage their roles from the Participants tab at any time — including from the homepage. Use the contextual menu on a participant to make them a co-host, make them a participant, reorder, or remove them.
You can manage their roles from the Participants tab at any time — including from the homepage. Use the contextual menu on a participant to make them a co-host, make them a participant, reorder, or remove them.
Share the room’s link
The other way to give someone access is the room’s meeting link. It works the moment the room is created — no session needs to be running.1
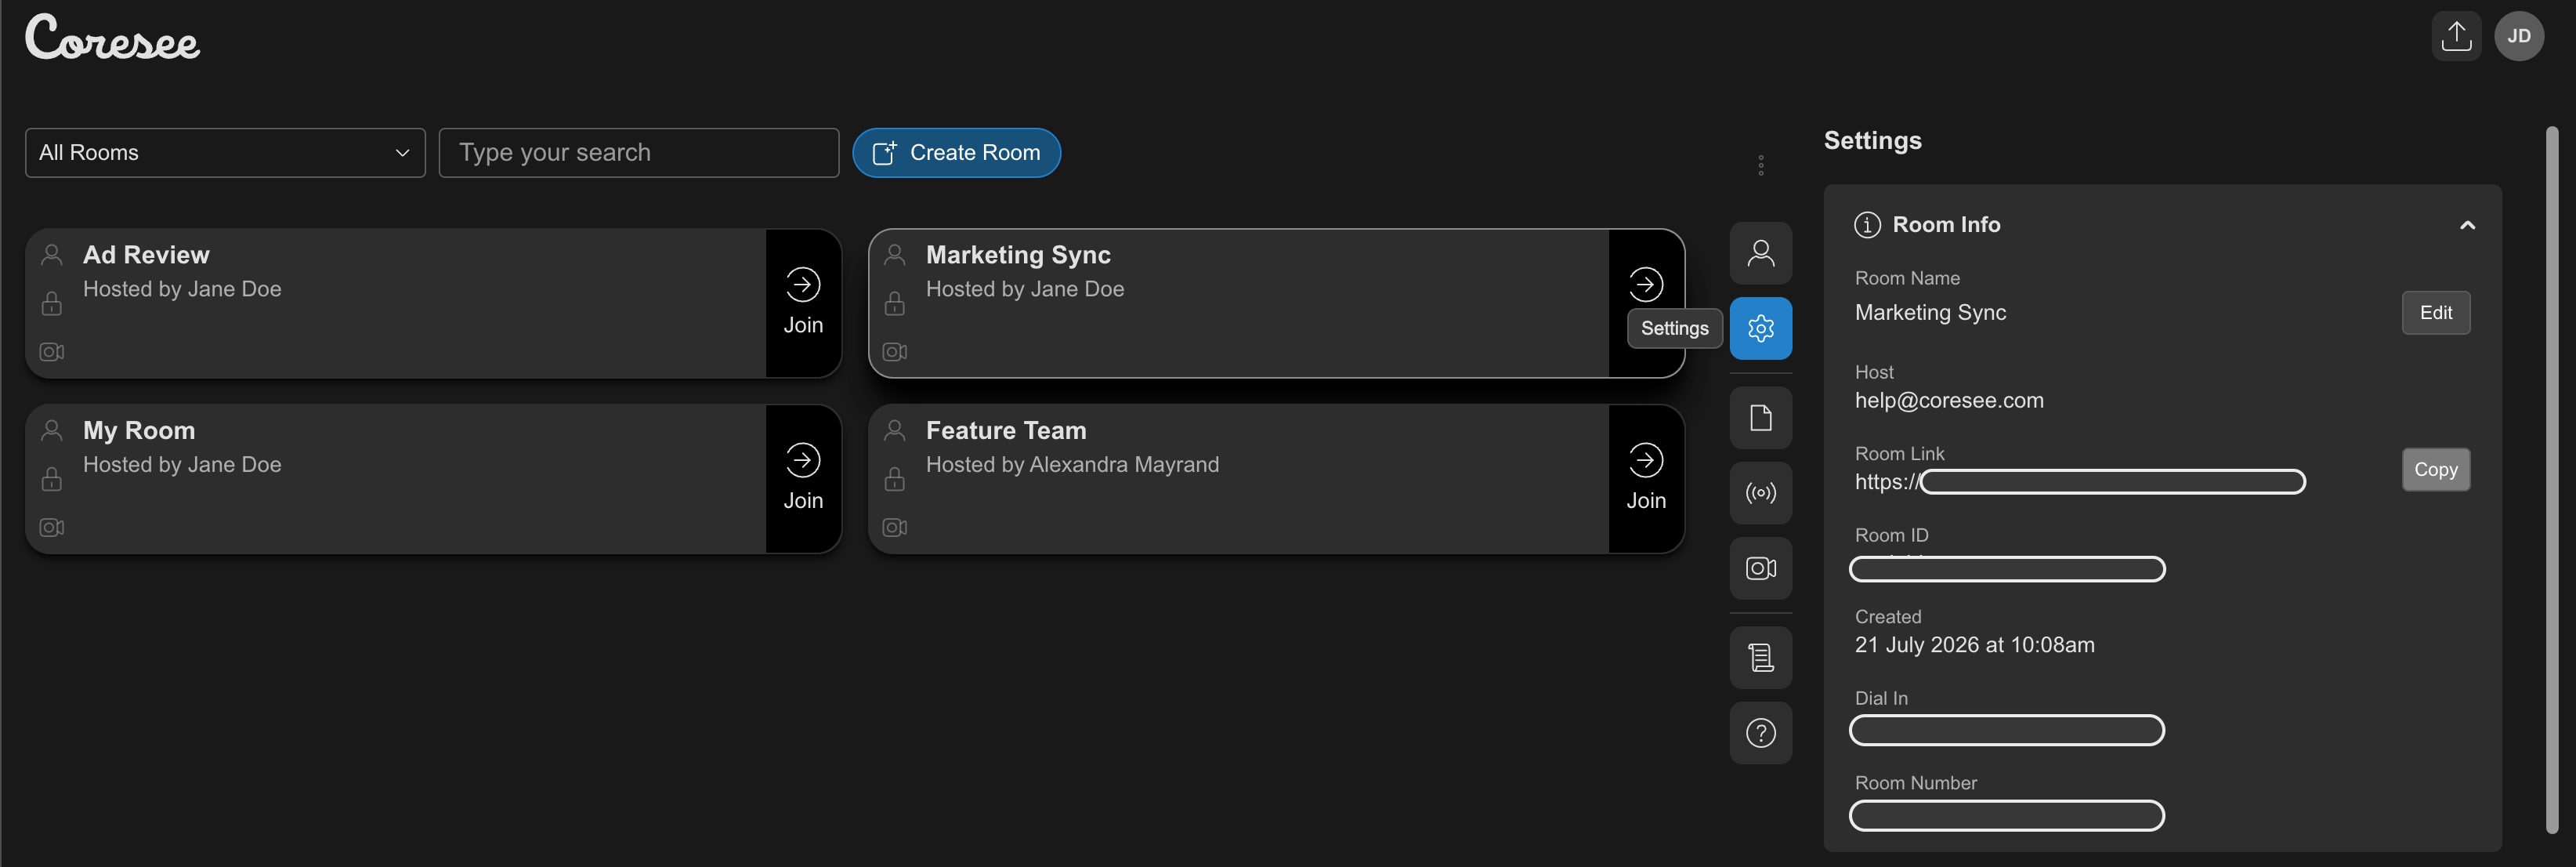
In the Side Panel, go to the Settings tab.
2
Under Room Info, click the Copy icon next to Room Link