

Access
Go to https://app.coresee.com/events-admin and sign in with your account to view the full list of existing events and to create a new one.Creating your event
Creating an event takes just a moment, and lands you directly on the Configuration Page where the rest of your setup happens.1
Click New Event
2
Give it a name
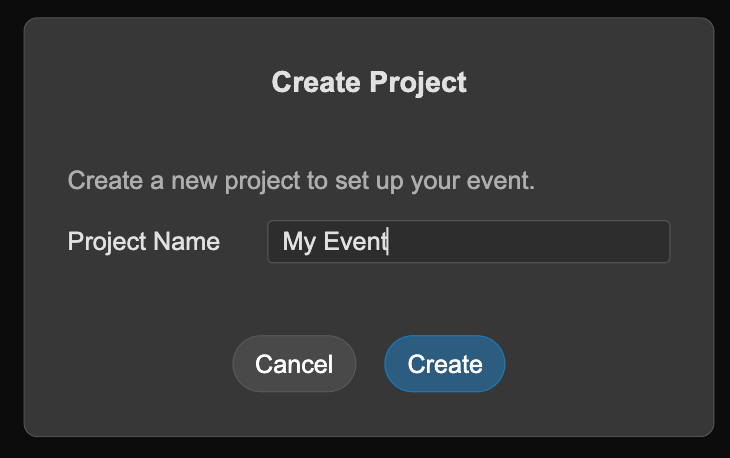
You’re taken to the Configuration PageThis is where you’ll set up everything else — stage transitions, links, streams, co-hosts, and styling.
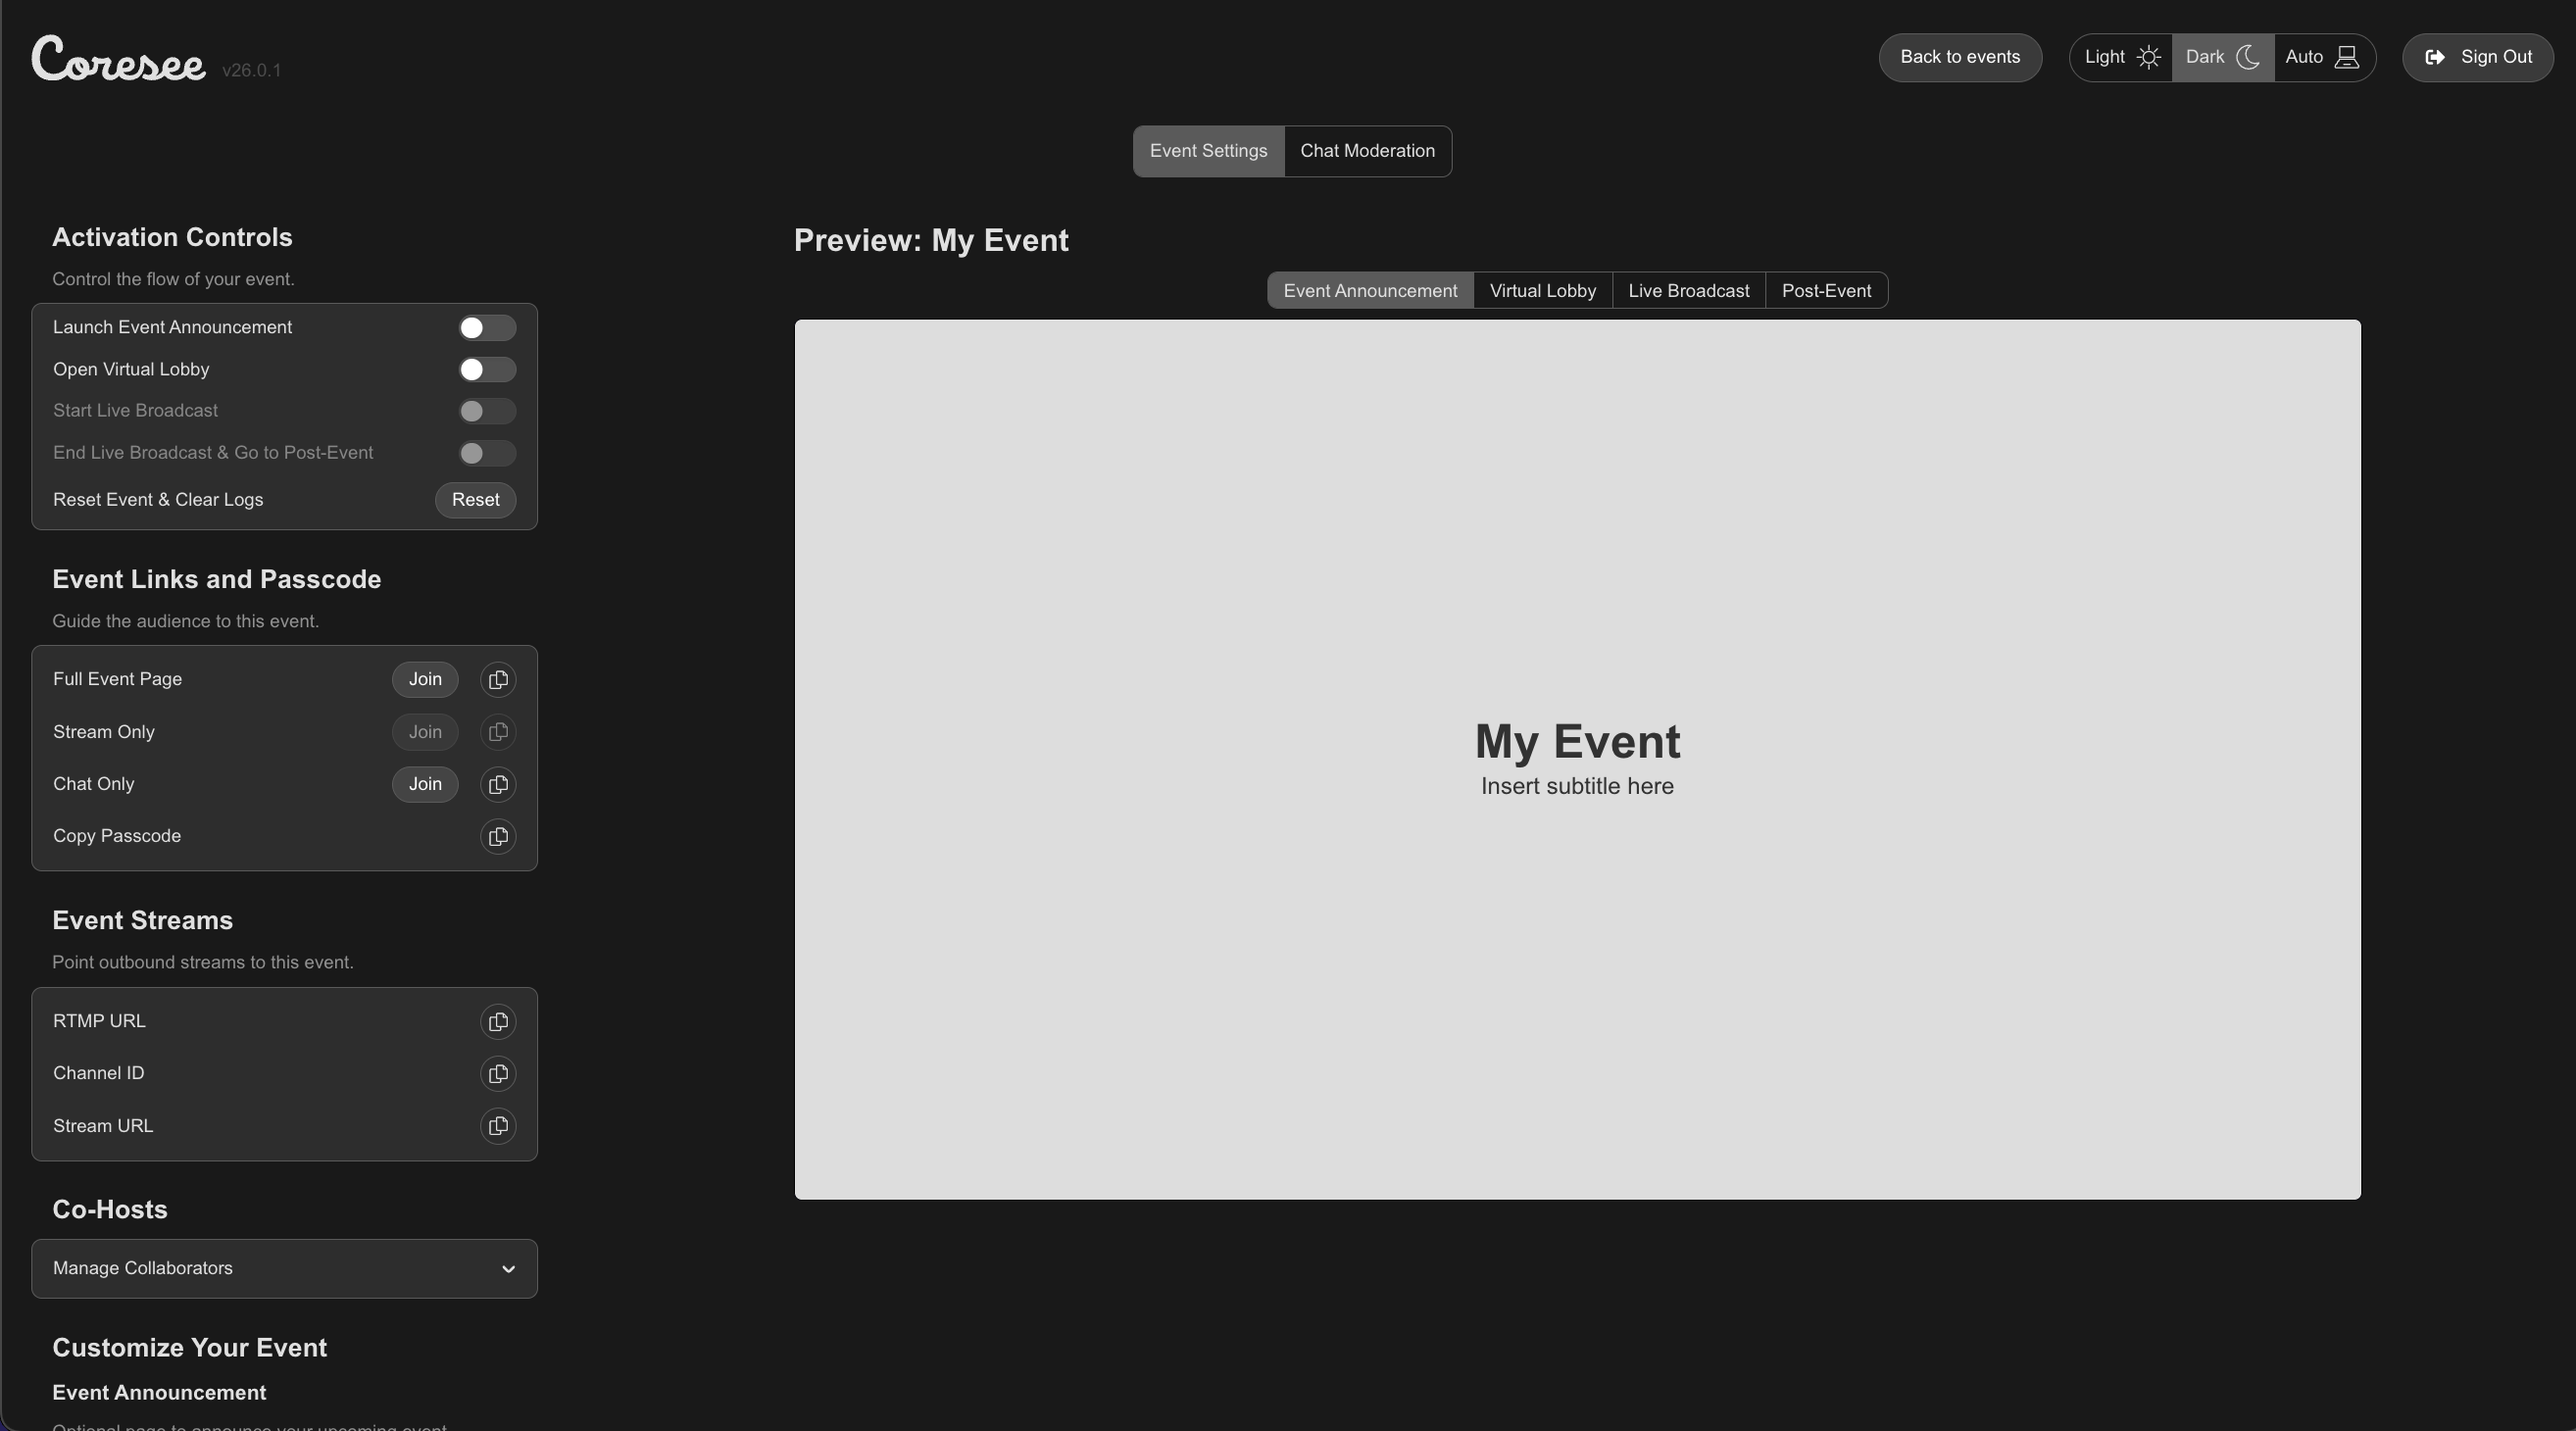
The Configuration Page
The Configuration Page is the control center for your event. Everything you need to set up and run your event lives here.- Left side — Settings. All of your event’s configuration options live in the sidebar on the left.
- Right side — Preview. A live preview shows your event exactly as attendees will see it, updating as you make changes.
- Top tabs — Settings and Chat Moderation. Switch between configuring your event and moderating the live chat.
Understanding the four stages
Before diving into Activation Controls, it helps to know what each stage is actually for — what attendees see, and why it exists.Event Announcement
The first stage attendees encounter. It’s a holding page that goes live before your event starts, letting people know a session is coming and building anticipation with your branding and messaging.
Virtual Lobby
The waiting area just before the broadcast begins. Attendees land here, enter their details through the join form, and wait for the Live Broadcast to start.
Live Broadcast
The main event itself — where your stream and chat are shown to attendees in real time. This is the stage your audience spends the most time in.
Post-Event
What attendees see once the broadcast ends. It’s a chance to thank them, share follow-up information, or promote your next session — and it’s also where you’ll download the attendee list and chat history afterward.
Activation Controls
Activation Controls is where you move your event through its four stages. Each stage is a toggle — switch it on when you’re ready to move forward.- Launch Event Announcement — makes the announcement page visible to anyone who visits your event link.
- Open Virtual Lobby — moves attendees into the lobby, where they enter their details ahead of the broadcast.
- Start Live Broadcast — switches attendees over to the live stream and chat.
- End Live Broadcast & Go to Post-Event — closes the broadcast and shows attendees the post-event screen.
Resetting your event
The Reset Event & Clear Logs button clears the participant list and chat history, ready for the next run.Your customizations are safe. Resetting only clears participant and chat data — none of your branding, styling, or stage content is affected.
Adding Co-Hosts
Running an event on your own is a lot to manage. Add Co-Hosts to bring in collaborators who can help configure and manage the event alongside you.- Enter a collaborator’s email address and click Add to invite them.
- Co-Hosts can help with tasks like chat moderation, freeing you up to focus on running the broadcast.